This rustic shiplap-inspired wall art is the perfect inexpensive solution to fill a blank wall or add some character to a dull space!
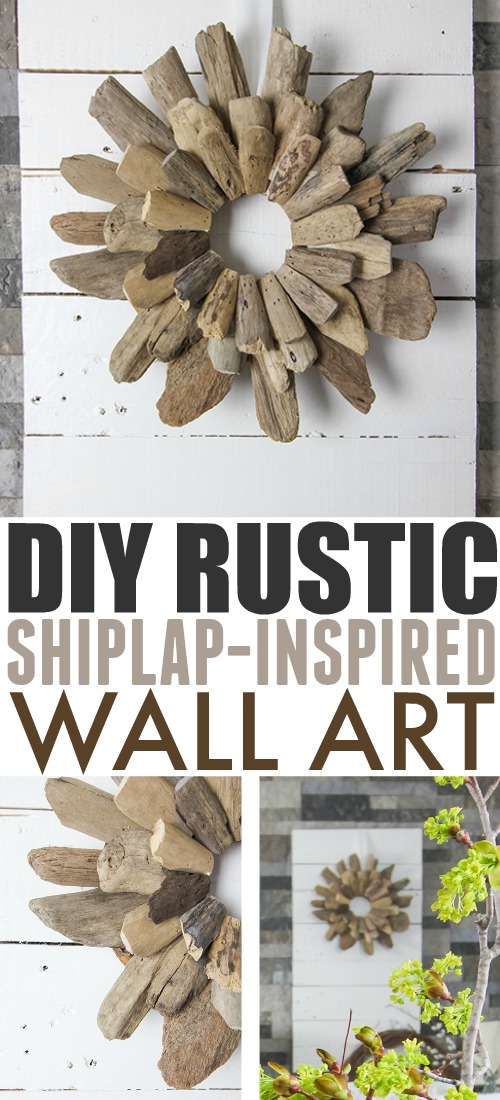
This rustic shiplap wall art came to be in our living in kind of a round-about way, but isn’t that often how things work when you’re trying to create a home you love? I thought I’d share this super simple project that I completed a couple of weeks ago for this month’s Thrifty Style Team post because I really love how it turned out and it was definitely thrifty! Well, actually it was basically free, so you can’t get much better than that!
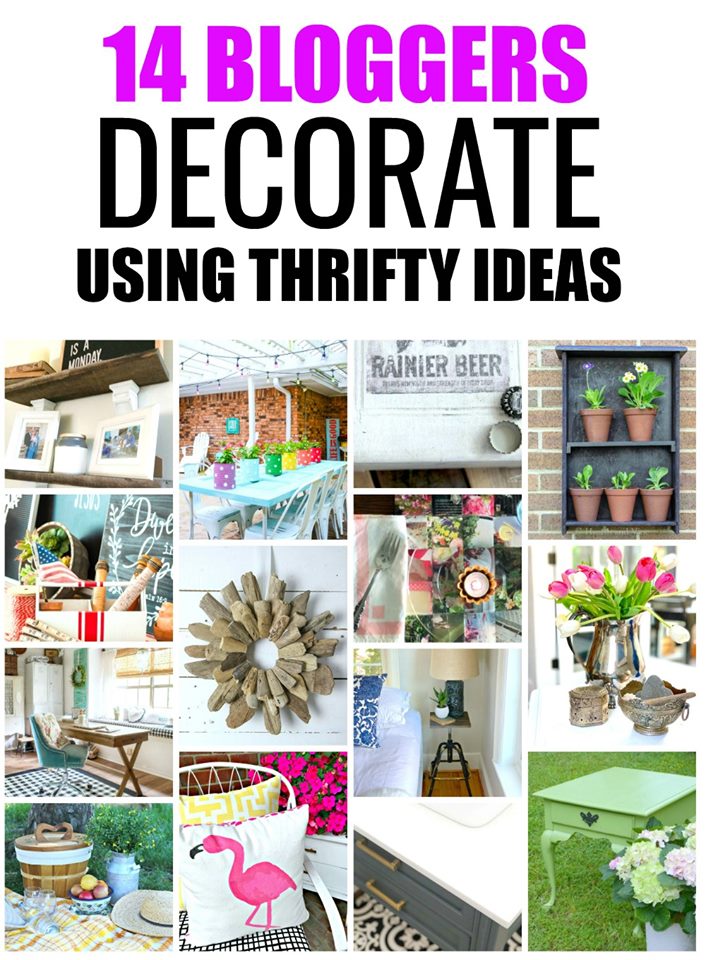
Make sure you read all the way to the bottom of this post so you can check out all of the other projects being shared by the Thrifty Style Team this month!
Rustic Shiplap Wall Art: Before
You may remember seeing this rustic stencilled wood wall art that I created last winter to hang on on our Airstone wall in the living room. I found a stencil that kind of reminded me of those tiles that have been really popular in farmhouse style homes over the last few years. It was fun and it really filled that spot in on our wall nicely.
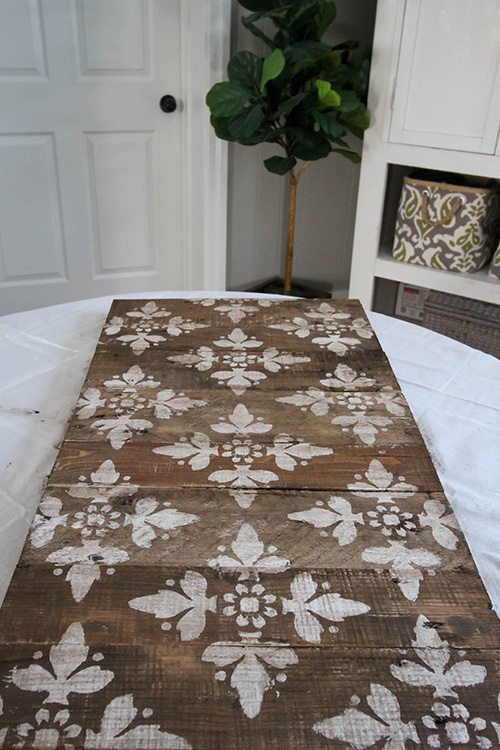
The neat thing is that the wall art was actually made out of the pallet that the Airstone was shipped to us on! It was just totally appropriate that we used that wood for art on this particular wall. 🙂
Finishing the Rustic Shiplap-Inspired Wall Art
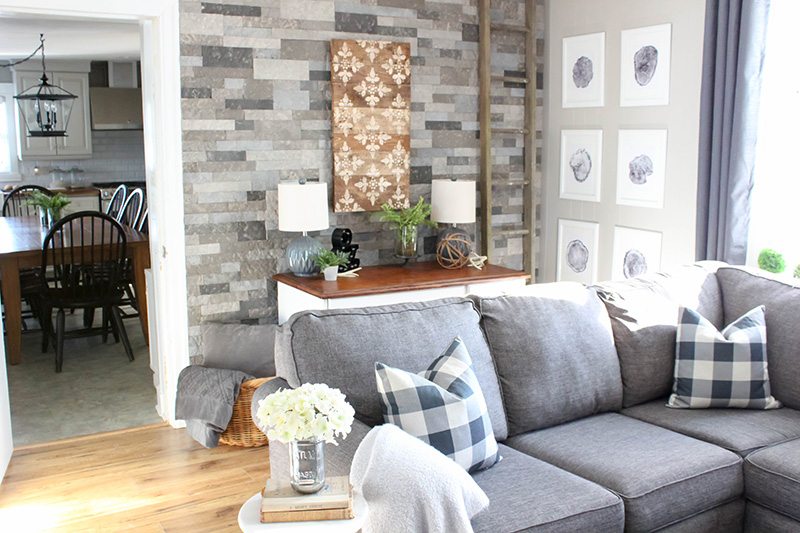
Over time I started to feel like this wall art was a bit dark though and I thought it might look great if I just painted the whole thing white. I’ve really been wanting to add more white shiplap to our house and this was kind of quick-fix way of bringing that look in to the living room. Well, I chickened out about 3 different times over the course of the last six months because I had put in a good bit of effort on that original stencilled wall art, but finally I just went for it. Anyone else have trouble making decisions on the silliest things like this sometimes?
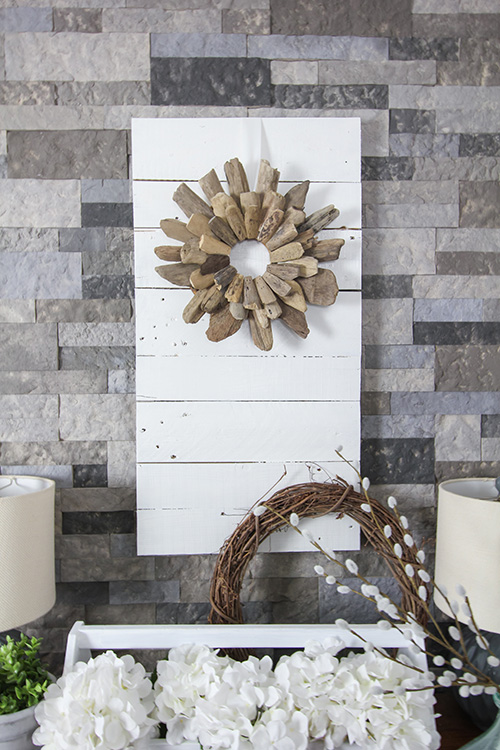
So anyway, I finally got my tiny piece of rustic shiplap on this wall!
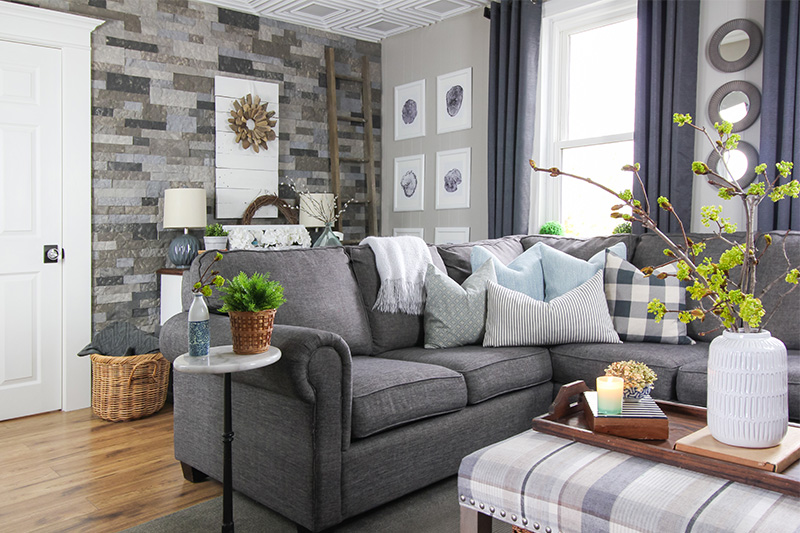
The funny thing is that we’re currently covering the other side of this wall in shiplap too now as I type this post, so stayed tuned for more shiplappy goodness! 🙂
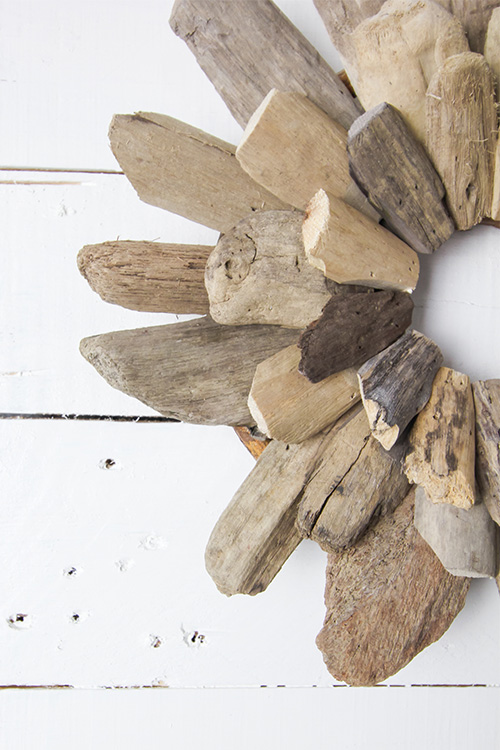
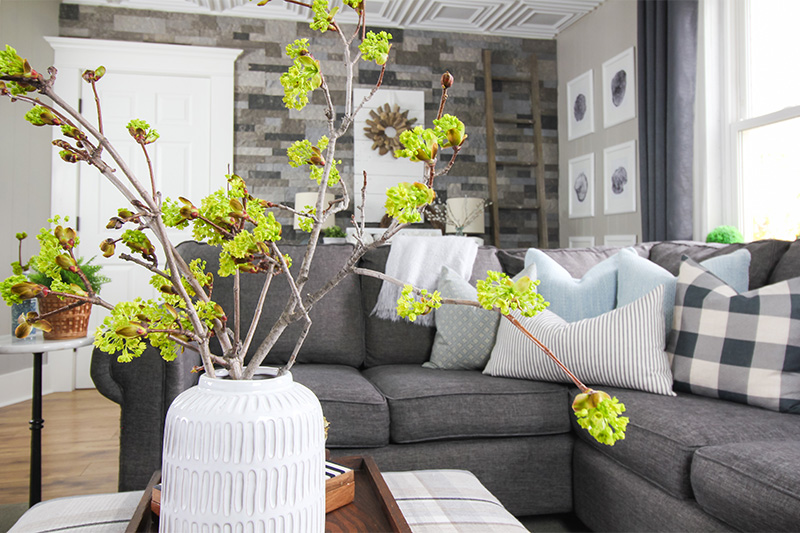
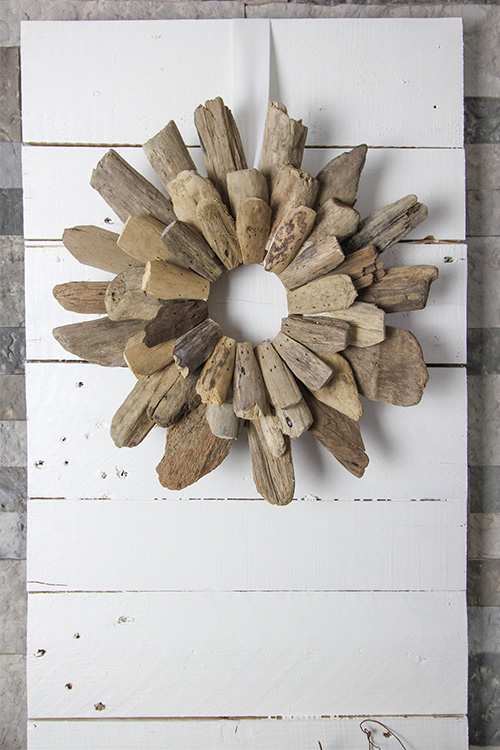
You can easily re-create this look on your own by cutting a few boards down to the same length and then screwing one longer piece across the back of all the pieces, attaching them together. It’s a great way to anchor a big empty wall and it was makes a perfect spot to display a wreath like this super neat driftwood wreath I found at our local Winners, which is kind of like the TJ Maxx of Canada.
My favorite part is that this transformation took me a total of about 14.7 minutes. 🙂
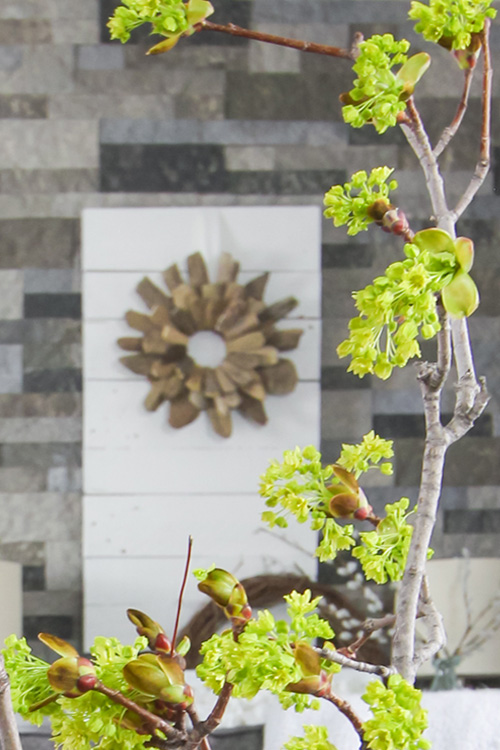
If you’re one of the millions of shiplap fans out there, this is a super quick and easy way to add that look to a part of your home!
Be sure to pop in and visit everyone else on the Thrifty Style Team today! I always get so much inspiration from this talented group every month!
Thrifty Yellow and Pink Spring Porch by Redhead Can Decorate
Rustic Shiplap-Inspired Wall Art by The Creek Line House
Ideas on How to Update a 15 Year Old Bathroom Vanity by Duke Manor Farm
Make an Auricula Theatre – Thrifty Style by Heart and Vine
Window Seat Refresh by DIY Beautify
Green Painted Outdoor Table by Cottage at the Crossroads
Patio Decorating Ideas on a Budget by I Should Be Mopping the Floor
Vintage Box Makeover by Bliss Ranch
Easy DIY Nightstand From a Thrift Store Stool by Chatfield Court
Decorating with Thrifted Silver by 2 Bees in a Pod
DIY Grain Sack Striped Farmhouse Tote by The How-To How
Thrifted Picnic Basket Makeover by Salvage Sister & Mister
DIY Magazine Page Place Mats by What Meegan Makes
100 Year Old Barnwood Shelves by The DIY Village

Courtenay Hartford is the author of creeklinehouse.com, a blog based on her adventures renovating a 120-year-old farmhouse in rural Ontario, Canada. On her blog, Courtenay shares interior design tips based on her own farmhouse and her work as founder and stylist of the interior photography firm Art & Spaces. She also writes about her farmhouse garden, plant-based recipes, family travel, and homekeeping best practices. Courtenay is the author of the book The Cleaning Ninja and has been featured in numerous magazines including Country Sampler Farmhouse Style, Better Homes and Gardens, Parents Magazine, Real Simple, and Our Homes.