This post should definitely have an alternate title of “How to make your DIY seasonal urn filler not look pathetic”, or “How to avoid embarrassing your neighborhood with floral arrangements.” OK, it’s really more of a greenery arrangement, but that just sounds weird.
I’ve been trying to do some form of a DIY Christmas Urn for the last 5 years or so and failing miserably every time. I was so ready to just spend the money and buy some of those pre-made ones this year and actually enjoy how they looked in front of my house. But then…. but then… I actually took a good look at them and realized they I needed to try the DIY just one more time.
And behold! Not embarrassing! I’ve unlocked the code of the urn and I’m here to share it with you today.
First of all, everything about this is totally, totally, budget friendly. Right down to the “urn” itself.
It’s just a plastic pot that was left here at the house when we moved in that I spray painted in a matte black. You can see that it’s starting to chip away and a fresh coat of paint is definitely needed, but it looks just fine from the street or the driveway and it will do as it is until Spring.
I wish I had pictures to show you just how sad my past attempts were at filling this thing so you could see what a triumph of the human spirit this arrangement really is.
Basically, to get a nice full look, you need a lot of stuff. Different stuff, fun stuff, but not expensive stuff.
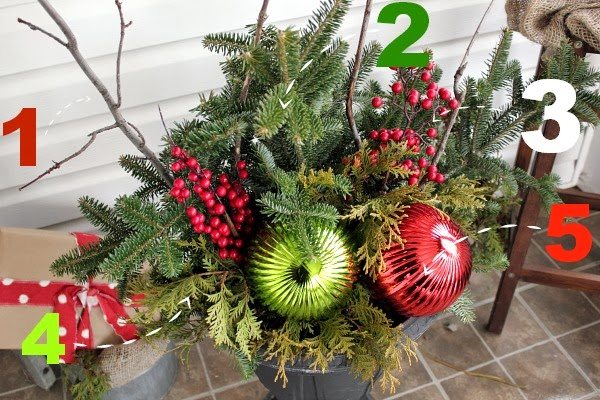
If you use at least 5 different things, then you will get a decent looking urn. Any less, and it will be sad.
The 5 things I used are:
1)Twigs from the yard. Pretty twigs are not necessary. Once everything’s in place you’ll find that any gnarly twig will do just fine.
2)Left over bits of Christmas tree trimmings. These branches are Balsam Fir.
3)Cheapo faux berries. I found mine for about $1.50 on sale and just used 2 sprigs.
4)A second kind of greenery. This is just some cedar from the windbreak hedge next to my house.
5)Giant Christmas ornaments. You can buy them all ready to go into your outdoor arrangements, but they can be a little bit pricey. I just bought regular huge ornaments for a Christmas tree, drilled a hole in them, and put a piece of dowling into them to keep them anchored into the arrangement. I think doing it this way cost me about $2 per ornament instead of $6-$10.
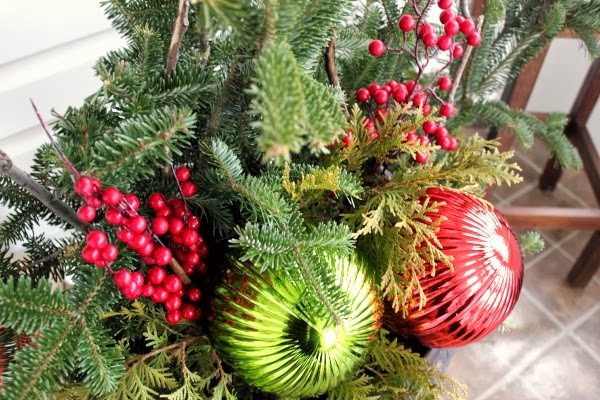
Would you ever know that the person who made this had no clue what they were doing?
Don’t lie, of course you wouldn’t!
The great part is that now I can save the ornaments and faux berries for next year and use them again if I feel like it, making the whole process even faster and easy-peasy-er!
If your arrangement is going to be somewhere where it’s really exposed to the elements, you can spray on an extra clear coat over the faux berried and the ornaments to make sure they don’t get damaged in any Wintery weather that you might be having.
Once I had my berries bought and my ornaments assembled, this whole thing took me literally about 4 and 3/4 minutes to put together.
Since that’s about as long as I can stand up for these days, that makes this a perfect project in my books!
Don’t forget to check out these other ideas for Christmas in a Flash!
Courtenay Hartford is the author of creeklinehouse.com, a blog based on her adventures renovating a 120-year-old farmhouse in rural Ontario, Canada. On her blog, Courtenay shares interior design tips based on her own farmhouse and her work as founder and stylist of the interior photography firm Art & Spaces. She also writes about her farmhouse garden, plant-based recipes, family travel, and homekeeping best practices. Courtenay is the author of the book The Cleaning Ninja and has been featured in numerous magazines including Country Sampler Farmhouse Style, Better Homes and Gardens, Parents Magazine, Real Simple, and Our Homes.


