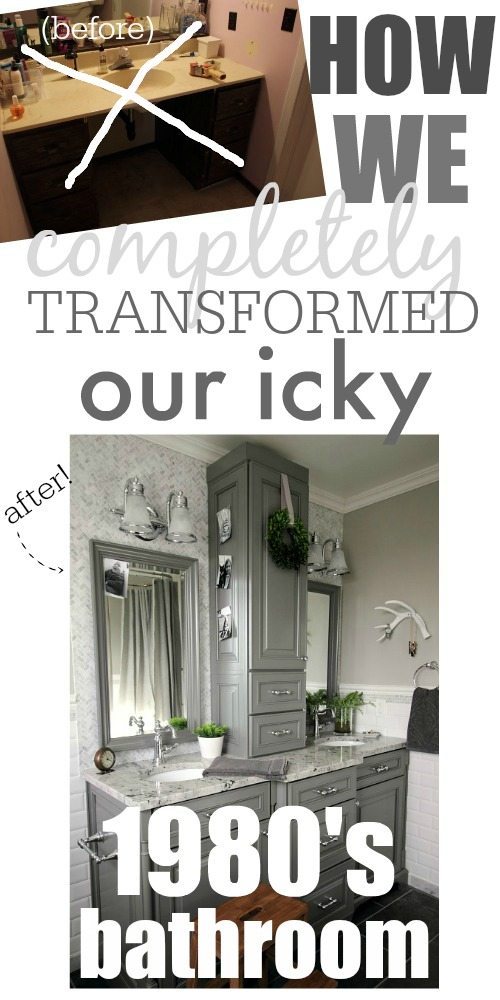
Yay! It’s before and after bathroom day!
I honestly thought this day might never come! We started this renovation in our master bathroom in October of 2014, so yeah, about 15 months ago, and now we’re finally ready-ish to look back on all the scary “before” pictures and pat ourselves on the back for just how far we’ve come! It’s been a year of a lot of work, and a lot of pickyness on our parts as we tried to make this room absolutely perfect for our family, but now we can finally say it was all totally worth it. Well, mostly. 🙂
If you need a little refresher on the story of our master bathroom so far, you can get all caught up on the beginning phases of the renovation here.
So, let’s do this! Let’s look at just how bad this room really was!
…OK. Here we go. I can’t believe I’m actually even going to show you these!
Keep in mind that this is after the bathroom had been completely abandoned for a few months.. so it’s a disaster! We basically just left our stuff in there, closed the door, and started using the other bathroom. We took these pictures the day before we started ripping everything out.
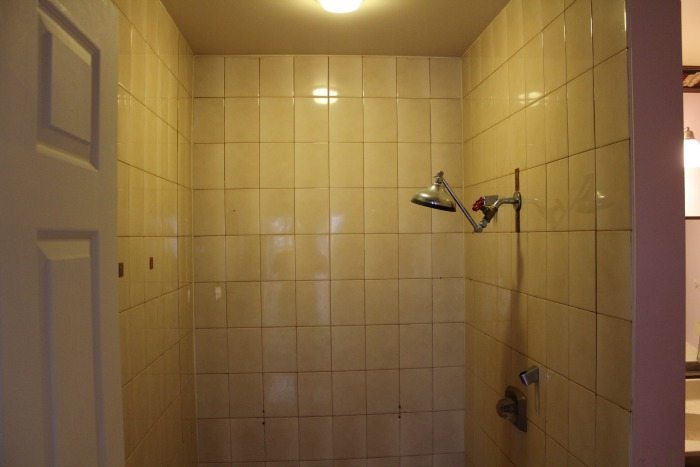
We had this dark cave of a shower, which was a good size, but pretty much just gross and uncleanable.
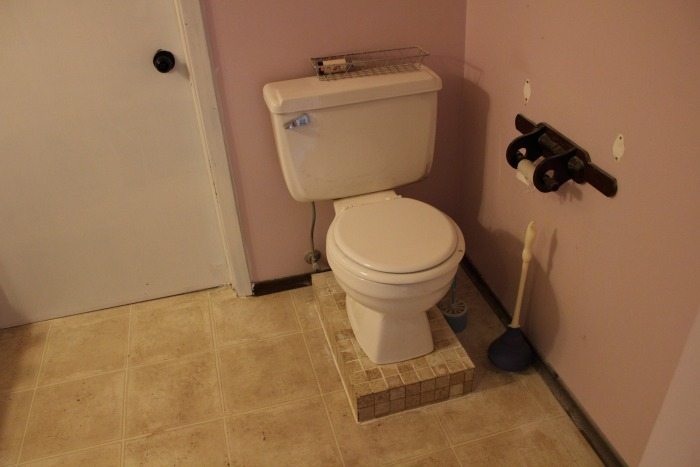
This part of the house had been made wheelchair-accessible at one point so the toilet was on a little pedestal, which was a pretty entertaining conversation starter if anyone ever happened to see it when we were showing them around. But still, gross. Bad news.
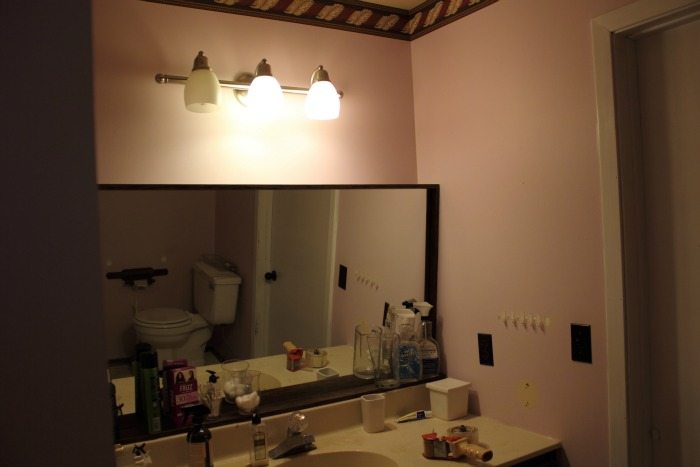
…And this was the vanity area. Disaster. I really don’t miss the pink paint with the maroon wallpaper border, believe it or not!
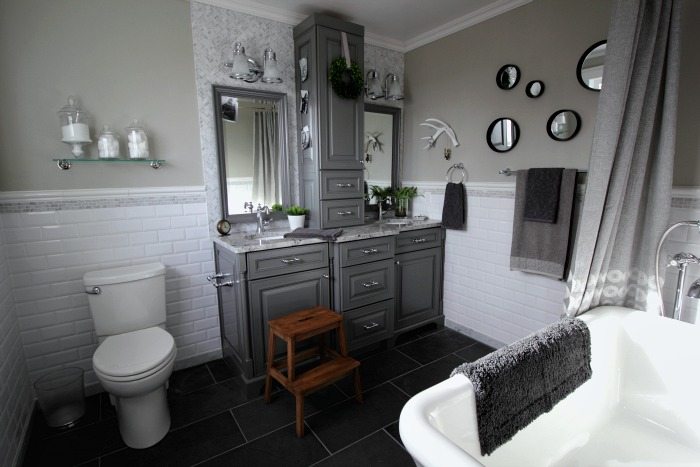
OK. Now that that’s out of the way, on to the fun stuff! Here’s the bathroom now!
Wahoo!
What?? Is that even the same room?
Well, no. Not really!
We moved the door so you now enter in from the back hallway in our master bedroom instead of right across from the bed and added a waaay bigger window too. Then, of course we ripped out every inch of wall and floor in here and completely rebuilt them. You can see more of the gory details from when the room was completely gutted in this room here.
Then we moved the plumbing for the toilet and the tub, installed heated flooring, and next we were on to the fun stuff!
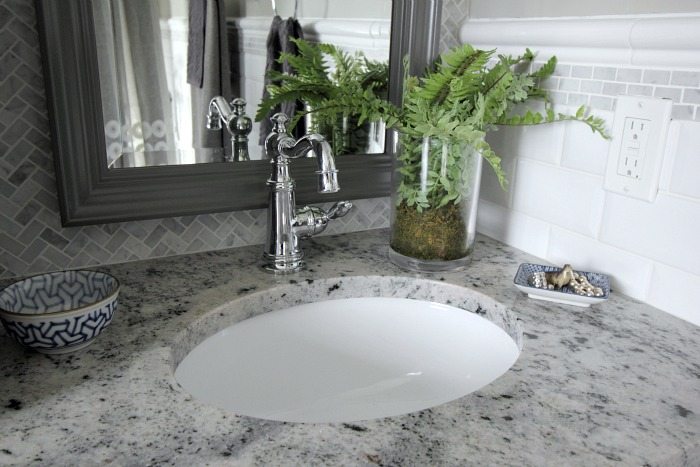
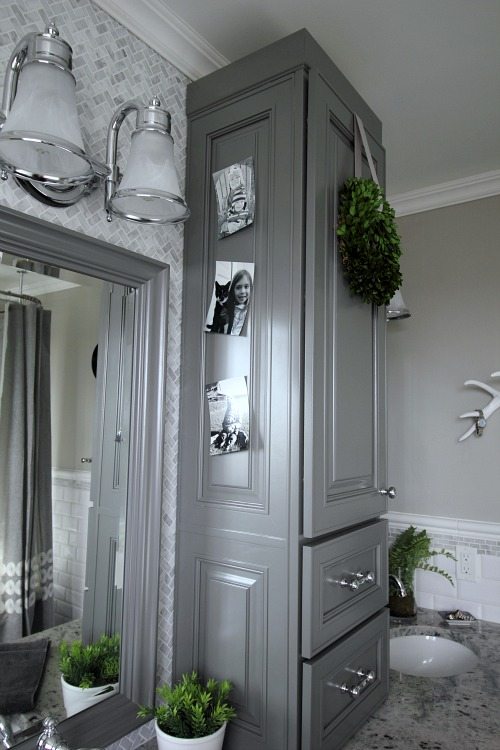
One of the main focal points in this room is obviously the amazing vanity, which I was extra-super-duper lucky to have provided to me by KraftMaid. It’s just full of amazing storage solutions too, which you can read more about here.

Side note: I meant to put a fresh roll of toilet paper on the paper holder so it would look nice for the pictures but clearly I forgot! It’s a really nice toilet paper holder though, isn’t it?
Actually, the toilet paper holder, along with all the other pretty shiny things in the room like the faucets, light fixtures, and drawer pulls were all provided by Moen. You can see more details about them in this post here from a few weeks ago.
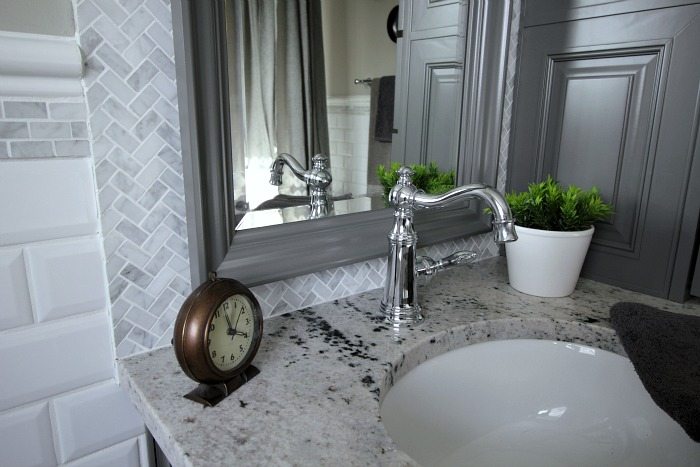
I definitely love my pretty shiny things! Even better when they actually serve a purpose!
You can see we used a lot of really beautiful tile in the room too. Actually, I may have gone a little overboard on the tile when I was designing this room. I was a little bit like a kid in a candy store!
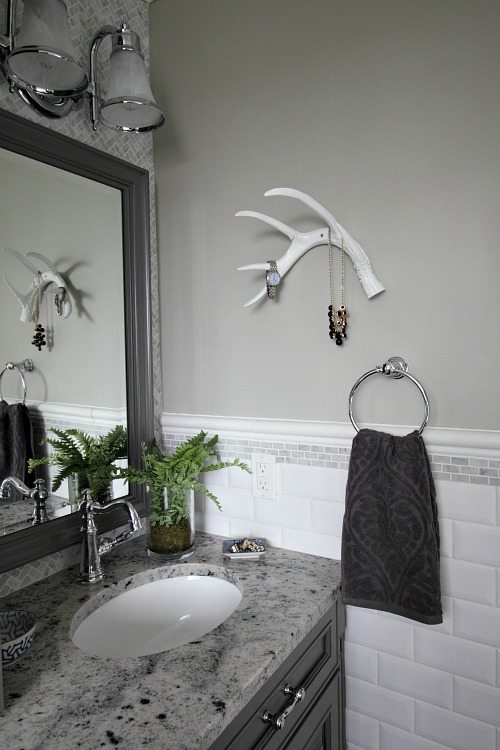
We started out by choosing a shiny white subway tile to go all around the room, halfway up the wall. We used the beveled version so it would have more of a historical feel and fit in with our old farmhouse. On top of that we ran a little strip of marble mosaic tiles in a brick pattern and topped it off with a chair rail, also made out of tile. I also got pretty excited about the whole marble thing and decided that the whole wall behind the vanity would be amazing if we did a marble mosaic in a herringbone pattern. Well, that sounds easy enough until you get to the edges and realize that you need to figure out a way to cut each individual teeny tiny tile into a little mini 1/4 inch triangle with the tile saw. I’m just lucky that Chris specializes in ridiculously meticulous tasks like that!… and about 20 straight work hours later, we had a tiled wall!
The floors were also a bit of a finicky tile because of their giant size. We sure know how to pick ’em! It can be a little challenging to get tiles that big to sit level, especially on top of all of the heated flooring stuff and the cement that goes over it, but we got it done! 🙂
The first thing you see when you walk into our washroom is the toilet, now that we’ve moved the plumbing around. Supposedly, you’re not supposed to make the toilet the first thing visible, but I think I just consider it convenient, really.
It kind of says:
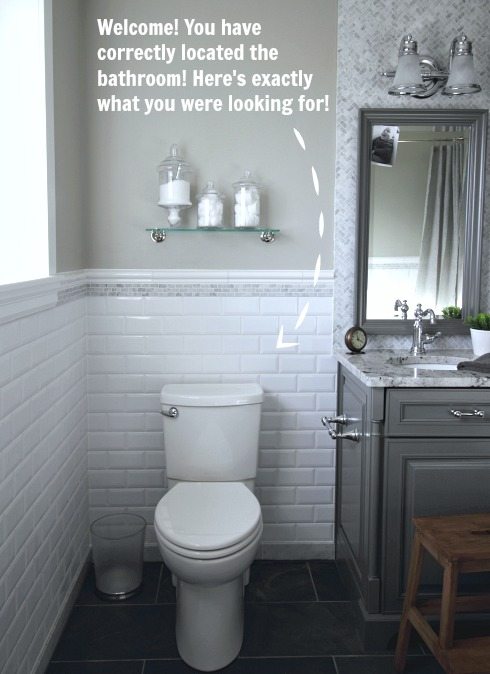
Plus it really is a huge improvement on the previous view from this location.
Before:

And after!
Truth-be-told, I’m pretty excited about the new toilet. It’s a lot more modern-looking than all of the other fixtures in the room but I think it’s a pretty brilliant design. The trap at the base of the toilet is actually hidden so the sides are all just straight up-and-down all the way around. Nowhere for tiny piles of cat fur and dust to rest that need constant wiping! It makes a difference!
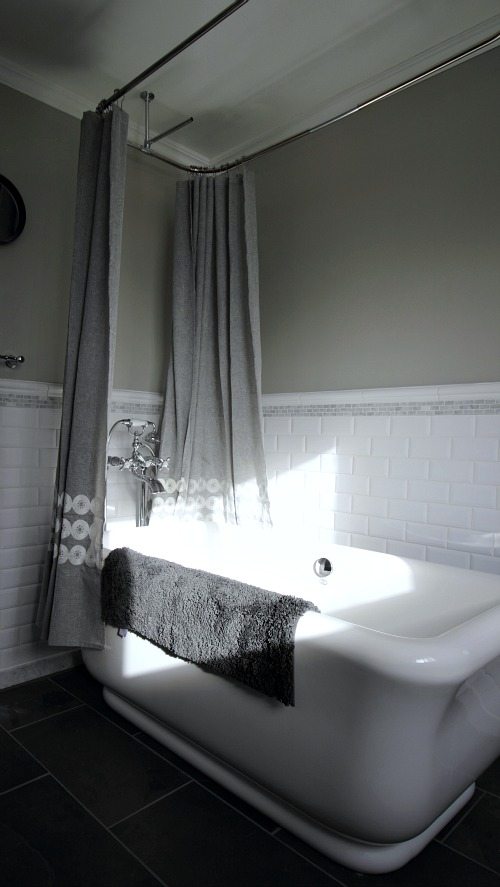
The free-standing tub is also obviously a main attraction in the room and it was designed really cleverly too! It’s actually a small tub, but it feels huge because of how deep it is as well as the square shape inside and out. We decided to go with a 5-foot tub rather than a 6-foot one to keep the room feeling spacious and I’m so glad we did!
Yes, it’s true. I left the Christmas wreath up. It just seems perfect for that spot and I’m thinking maybe in a month or so when I start with my Easter decor it can just become an Easter wreath. 🙂
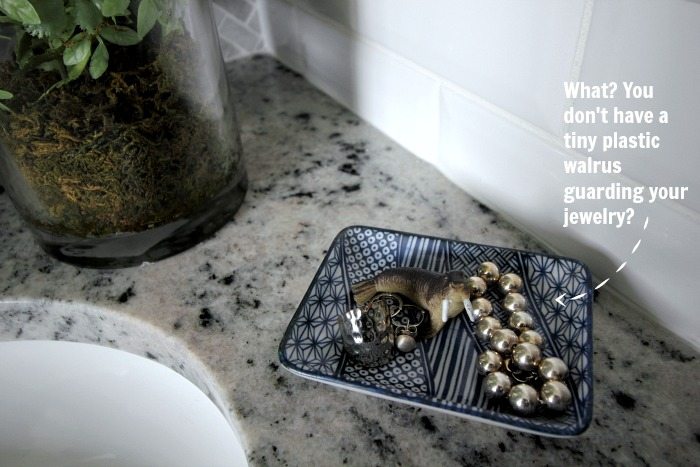
I love that this room is super fancy (by my standards at least!) and traditional in style, but it still feels fresh and approachable and totally like “us”. I always think you know you’ve done a really good job designing a room when it becomes really easy to decorate it and make it look good, almost no matter what you try. Even, a plastic walrus!
So that’s the bathroom! If you can’t already tell, I’m thrilled with how well this giant project turned out for us. I hope you enjoyed your little tour!
A big huge ginormous thank you again to Moen and KraftMaid for providing so many amazing and important products for this room. They really made my whole vision come to life and it would not have been the same room at all without their generous contributions!!

Courtenay Hartford is the author of creeklinehouse.com, a blog based on her adventures renovating a 120-year-old farmhouse in rural Ontario, Canada. On her blog, Courtenay shares interior design tips based on her own farmhouse and her work as founder and stylist of the interior photography firm Art & Spaces. She also writes about her farmhouse garden, plant-based recipes, family travel, and homekeeping best practices. Courtenay is the author of the book The Cleaning Ninja and has been featured in numerous magazines including Country Sampler Farmhouse Style, Better Homes and Gardens, Parents Magazine, Real Simple, and Our Homes.