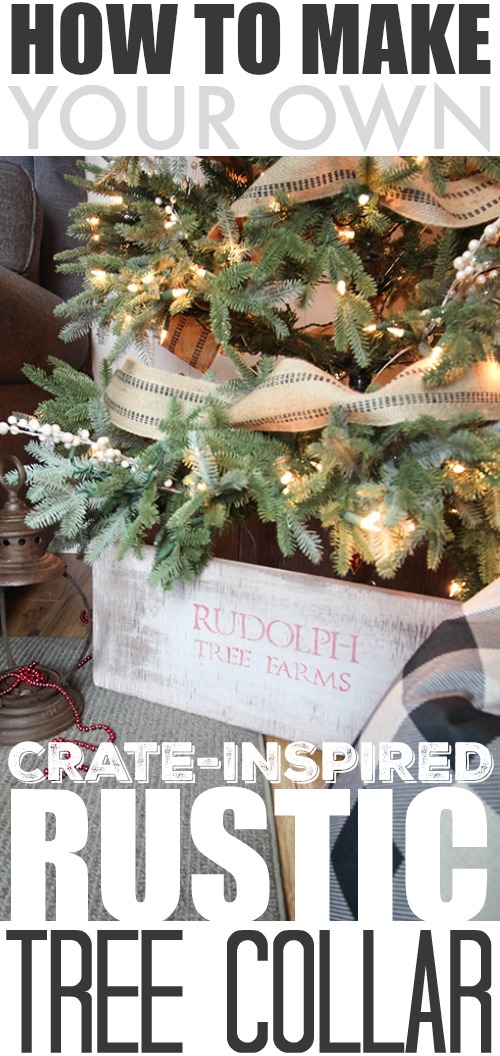
This DIY Christmas tree collar looks beautiful under any tree. It’s so clean and tidy compared to a traditional tree skirt and it’s so incredibly easy to make yourself.
I had been wanting to try out a Christmas tree collar with our tree for awhile, so a couple of years ago, I decided to make my own. I love the clean, tidy look of them, but I find they’re always either quite expensive or just really bulky to store because of their usual roundness. My Christmas storage area in the basement is always a little too full, so I definitely need to be really conscious about not overdoing it when it comes to buying or making Christmas decor! This DIY solution is perfect because it gives me that tidy Christmas tree collar look, it’s a fairly inexpensive project, and it can easily be stored up against a wall! It’s a win-win-win kind of a situation. 🙂
Start With a Box
We started out by making a basic square box with four sides each measuring 23″ by 10″. Ten inches seemed to be just about the right height to hide the base of our tree without forcing the bottom branches up too much when it’s in place.
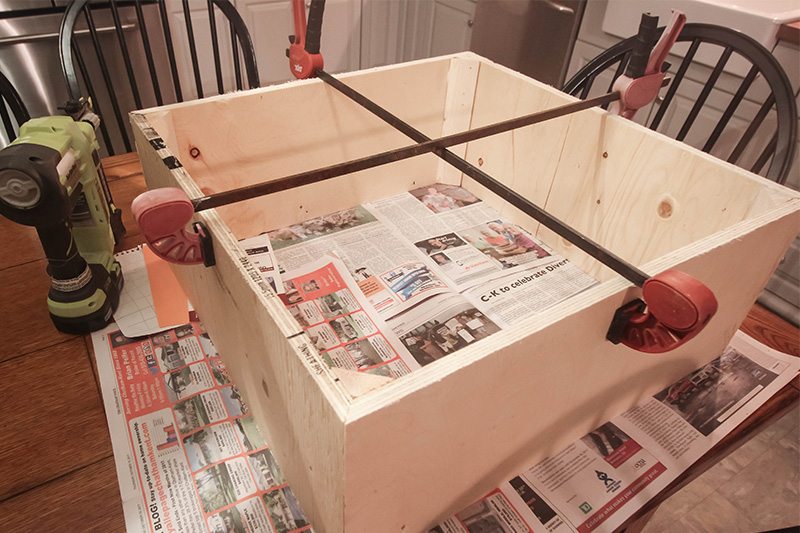
We just glued and nailed the four sides together and reinforced the structure with these little triangular pieces in each corner.
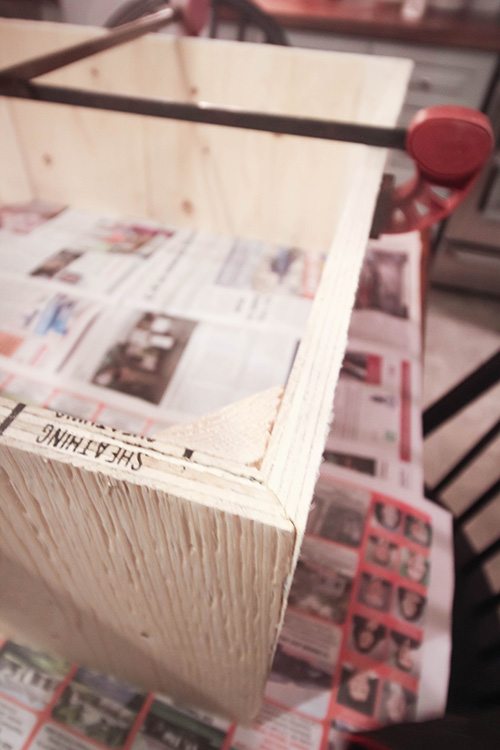
The extra re-inforcements are probably overkill unless you have a five year old like we do who likes to pick these things up and bang them around to test them out. 🙂
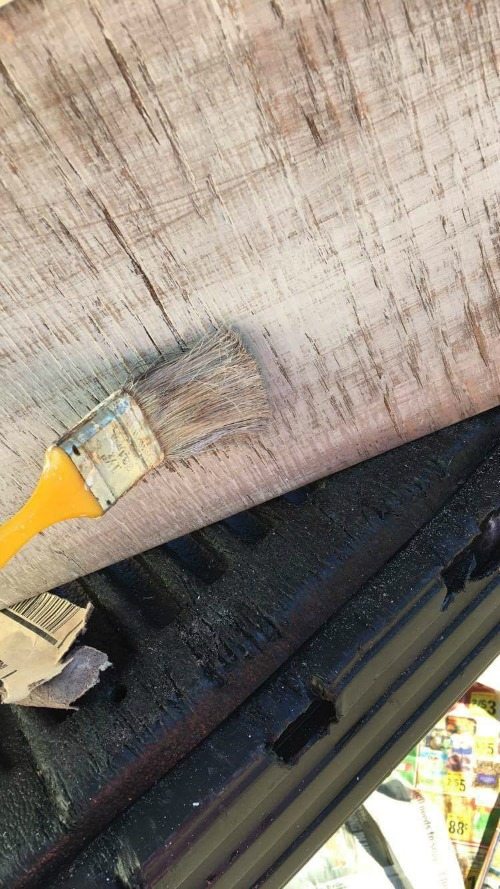
When everything was dry on the basic box structure, I went ahead and got out the paints! I started out by staining the box, then I painted over it with a white chalky finish paint. I sanded it down on all sides until I had the rustic look that I was going for.
Adding Lettering to the Tree Collar
Then it was time for the really fun part. 🙂 I got out my stencils and some cheery red paint and added a little bit of Christmassy wording to the front of the tree collar.
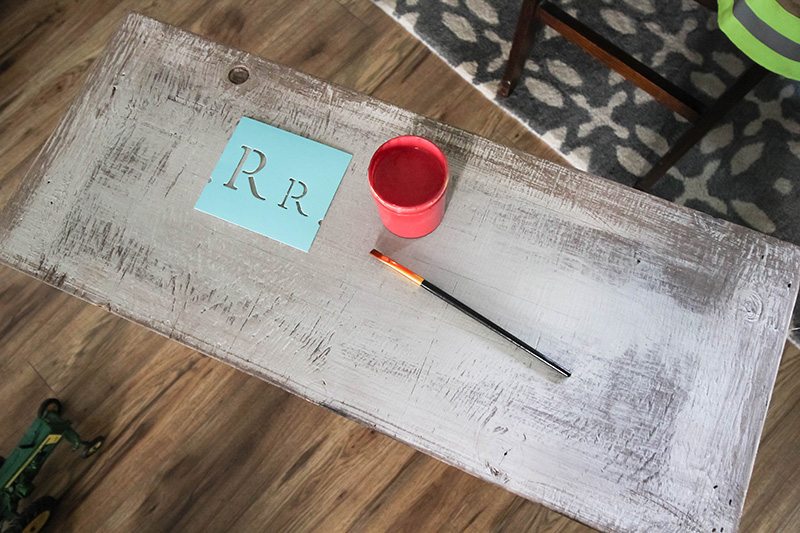
I actually haven’t done any stencilling in a few years so I was a little rusty. If you’ve never tried stencilling before, here’s my number one tip: Make sure that you have very, very (very very very) little paint on your brush. Your brush should be almost completely dry and it should take you a little bit of effort to work the paint all around every area of the letter stencil. This is the only way to avoid your paint bleeding out around the edges of your letters.
Once you get the hang of things though, using these stencils to add lettering to projects is a really inexpensive and satisfying way to go!
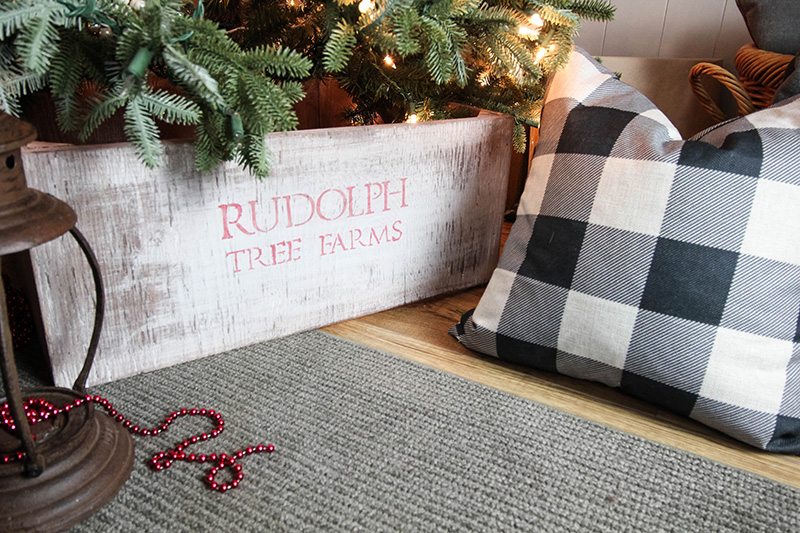
Here’s a look at how the tree looks overall so far.

I’ve only added a basic garland and a few berry sprigs so far, but I have a really fun theme idea for our tree this year that will fit perfectly with this new DIY rustic Christmas tree collar!

Keep an eye out for the post about our tree and the rest of our living room Christmas decor later on in the season!

If you’ve been curious about creating your own DIY rustic Christmas tree collar, I hope this project of ours gave you some inspiration!
MORE IDEAS LIKE THIS
- DIY Oversized Red Christmas Stars From Scrap Wood
- Christmas Decorating for When You Have No Mantel
- Christmas Gift-In-A-Jar Ideas
- DIY Christmas Urns on a Budget
- The Creek Line House Christmas Idea Archives
- The Creek Line House Holiday Decor Recommendations
This post contains affiliate links.

Courtenay Hartford is the author of creeklinehouse.com, a blog based on her adventures renovating a 120-year-old farmhouse in rural Ontario, Canada. On her blog, Courtenay shares interior design tips based on her own farmhouse and her work as founder and stylist of the interior photography firm Art & Spaces. She also writes about her farmhouse garden, plant-based recipes, family travel, and homekeeping best practices. Courtenay is the author of the book The Cleaning Ninja and has been featured in numerous magazines including Country Sampler Farmhouse Style, Better Homes and Gardens, Parents Magazine, Real Simple, and Our Homes.