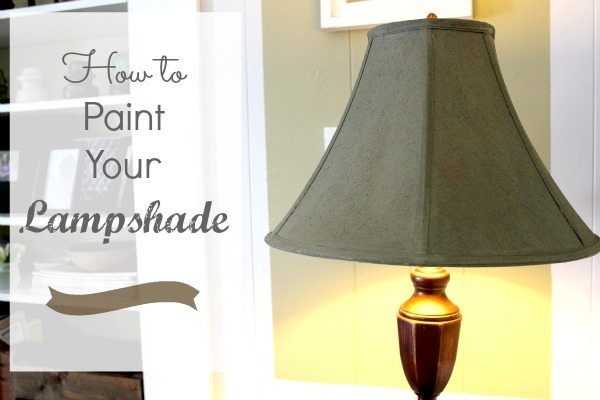
What do you do if you have a lampshade that is just the right shape and size but not quite the right color? Do you throw it out? No! You paint it! Here’s how to paint a lampshade.
This was such a fun little DIY home decor project. I first learned how to paint a lampshade over a decade ago when we first moved into our home. Back then, when I wanted to update something around our home, I had to come up with clever ideas to reuse what I had because things like getting new lampshades just because the mood struck weren’t always in the budget. These little decorating challenges and limitations taught me so many neat tricks and new skills and, as it turns out, I still come back to them today even when I can afford to buy something brand new.
As it turns out, I had a very specific style of lampshade in mind for the lamp in our mudroom, and I just couldn’t find what I was looking for in the right size, shape and color. I’d been looking for quite some time for a black empire lampshade and I just wasn’t finding it, so when I came across this one in a thrift store, I picked it up and decided to try painting it again, just like I did so many years ago.
Can You Paint a Lampshade?
Yes, you absolutely can, but after painting lamp shades of a few different styles and using them to decorate my home, I have a few important painting tips to share. It isn’t quite as easy as slapping a coat of paint on and calling it done, but it isn’t much more difficult, either.
I recommend against using spray paint, even though that might seem like the quickest and easiest way to tackle this makeover project. Using a paint brush and paint will give you much more control over your paint job and allow you to monitor the process for even coverage and to watch the paint adhere to the cloth or fabric smoothly. I’ve seen this project done with spray paint and I didn’t think the results were nearly as nice as what I was able to get with a simple paint can and a brush.
There are many different types of paint for different specialized purposes, but I’ve always used regular latex wall paint, like you would use to paint a room. If you have some extra paint from a small paint sample jar, this is a great project to use that for.
A matte or eggshell finish will work most seamlessly to bring new life to a lampshade, but I used a pearl or satin finish and it worked just fine. I wouldn’t suggest using high-gloss paint for this DIY painting project because you’ll almost definitely end up with some areas that are much shinier than others and it will create a messy-looking finished product.
Home remodeling inspiration ideas: The Best Organizational Insert Ideas for Custom Cabinets
Preparing a Lampshade for Painting
There really isn’t too much to prepping your lampshade for painting, but it is important that the surface is clean and dust-free so that your completed lampshade will have a smooth surface. You can use my little lampshade cleaning trick for this, which will work just fine and only take a moment or two.
Priming and taping aren’t required and actually, you’ll probably get better results if you just avoid these steps altogether. Once you’ve chosen your paint color, you’re ready to get started.
More decorative DIY finishes for your home: The Secret Formula for the Perfect Painted Gold Frame
How to Paint a Lampshade
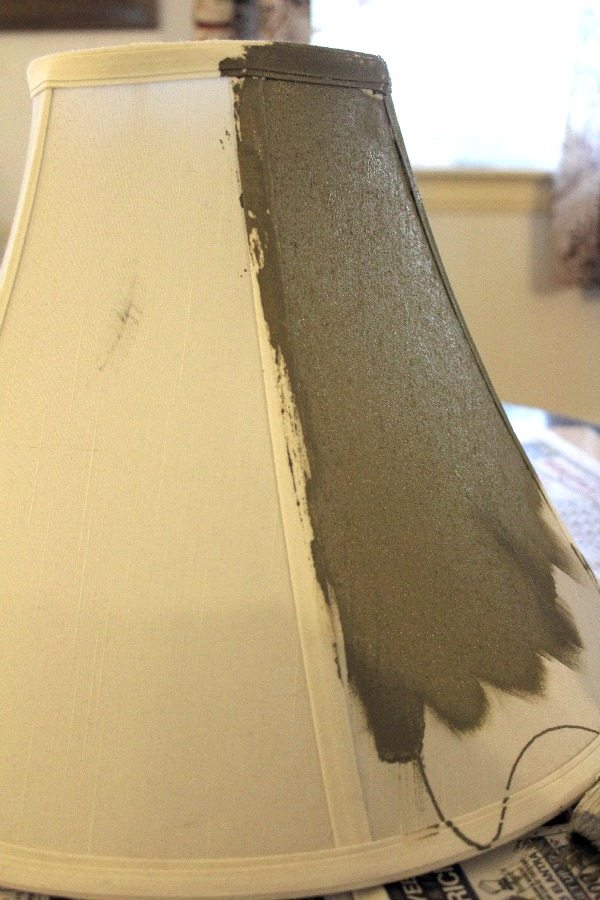
Start out by loading quite a bit of paint of your brush and applying it to your lampshade with smooth brush strokes to see how it absorbs into the fabric. If your lampshade is anything like the ones I’ve painted in the past, you can use different painting techniques as you go and it won’t make much of a difference. Whether you prefer to paint side-to-side, up-and-down, or diagonally, the end result will mostly be the same because the paint will probably absorb quite evenly, no matter how you apply it.
The goal is just to go around the shade and apply the paint in a way that gives you even coverage as much as possible. When you get to the top and the bottom edges of the shade, I find I get best results if I just free-hand the edge with a small paint brush, about 1″ wide or so, to get a fairly clean edge line. I don’t mess with tape because I think that the paint edge would be almost sure to bleed when working on fabric like this and it’s not worth the risk.
Here’s a look at the top edge of my finished lampshade so you can see how it looks. Not too bad at all.
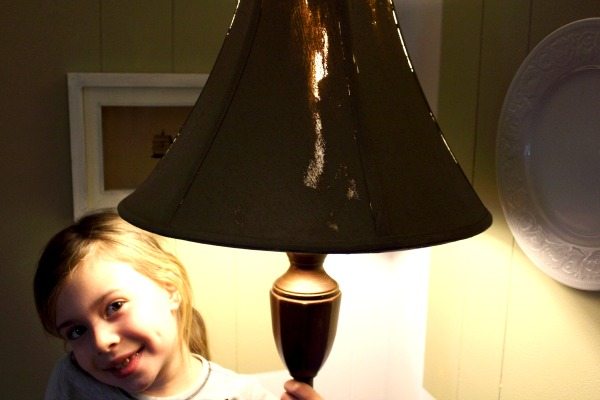
Now, here’s the trick: When you think the paint job looks good and all the spots are covered, you’ll put the shade back on the lamp, turn it on, and continue painting it until no more light shines through. It was incredibly easy to get good coverage, actually. It’s so easy to see every imperfection and exactly where you need to add more paint with this method.
After applying two coats of paint, you may find there are still one or two more spots that you need to go over, so allow the second coat to dry and then touch up those few spots.
Brighten your home with more lighting: How High Should a Pendant Light or Chandelier Hang Over the Table?
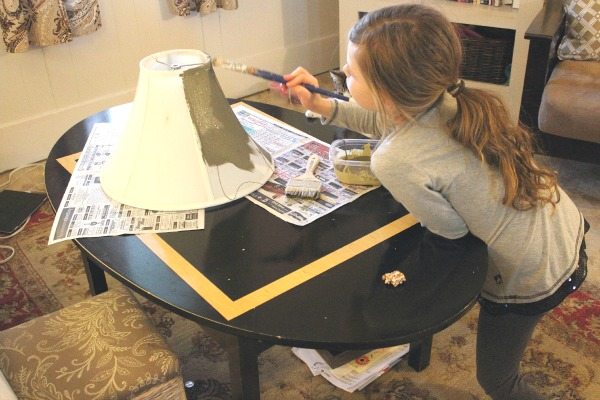
Here are some photos of tiny Kennedy helping me the first time we completed this project 11 years ago. In the first photo, you can see her painting the lampshade with an old Martha Stewart color called “Crevecoeur,” and in the photo below, you can see her demonstrating how to turn the light on to see all the spots you missed. It’s amazing how much the decor in our house has changed in the last 11 years.
The Finished Painted Lampshade
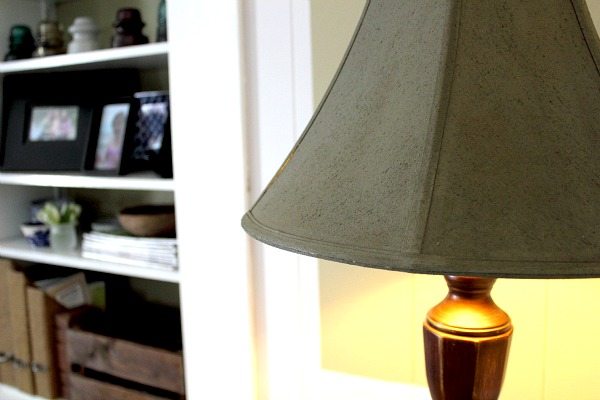
Here’s how the finished lampshade looks once it’s dry. I painted mine using Benjamin Moore Onyx, which is a black I use quite often around our home when I refinish furniture, and I love the little bit of elegance that the black lampshade adds to our mudroom.
Black lampshades are such a classic look, but they’re hard to find, especially in Canada, so I’m glad I made use of this very handy solution once again.
Do you have a lampshade in your home that could use an upgrade? Would you ever consider painting a lampshade?
Easy home decoration ideas for beginners: How to Make Cheap Pillows Look Expensive

Courtenay Hartford is the author of creeklinehouse.com, a blog based on her adventures renovating a 120-year-old farmhouse in rural Ontario, Canada. On her blog, Courtenay shares interior design tips based on her own farmhouse and her work as founder and stylist of the interior photography firm Art & Spaces. She also writes about her farmhouse garden, plant-based recipes, family travel, and homekeeping best practices. Courtenay is the author of the book The Cleaning Ninja and has been featured in numerous magazines including Country Sampler Farmhouse Style, Better Homes and Gardens, Parents Magazine, Real Simple, and Our Homes.