We’ve been busy little organizing bees around here lately with back-to-school season in full swing and I just love it. I always feel like this time of year is kind of like a second New Year, full of promise, possibility, and feelings of new beginnings. Kennedy and I have been having so much fun getting her all ready with school supplies, new clothes, and even some fun new decor and organization in her room and I felt myself feeling like I needed to do a little back-to-school organizing of my own. Obviously I’m not going back to school, so it’s more of a “back to routine, back to productivity” kind of a thing. 🙂
Well, truthfully I don’t really have much of an office to organize. That’s yet another project we’re working on, of course. 🙂 I do have sort of an office-in-a-cabinet in the dining room, and a craft-room-in-a-dresser in there as well. Apparently they’re actually working pretty well for us because when I went in there to do some major organizing, I realized that everything was actually in pretty good shape! Luckily, in this case anyway, my ribbon stash was looking a little disheveled so I thought I’d make this easy mason jar organizer for the smaller spools.
Here’s how you can make one too!
Start out with a mason jar tall enough to fit all the rolls you want to put in it when they’re stacked up, or maybe a little bigger since we all know that ribbon stashes tend to grow. 🙂
I used an old pasta sauce jar that I cleaned out. You can find my favorite method for removing the labels cleanly here, and tips on deodorizing jar lids here if you think you’d like to reuse a jar for this too! Or you can just buy some jars with one-piece lids.
Since my lid had writing on it, I started out by giving it two coats of oil rubbed bronze spray paint, just to make it look pretty. If your jar has a lid that’s already pretty or if you just don’t care, you can skip this step.
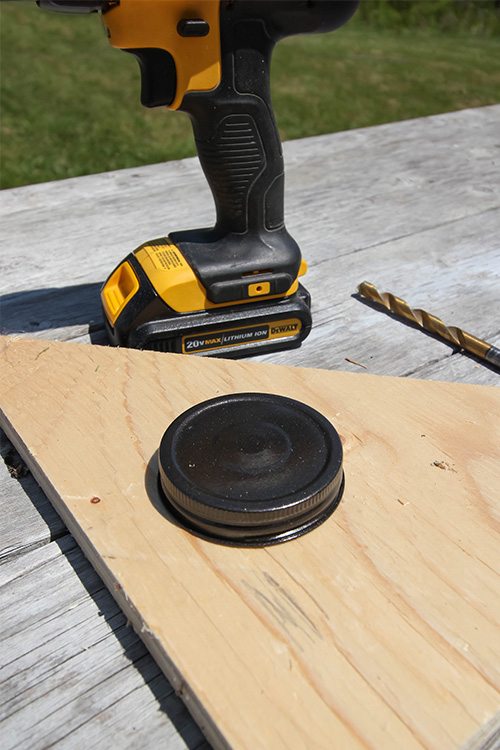
Next you’ll need to drill enough holes to accommodate the number of rolls of ribbon you have in your jar. Make a few extra just in case.
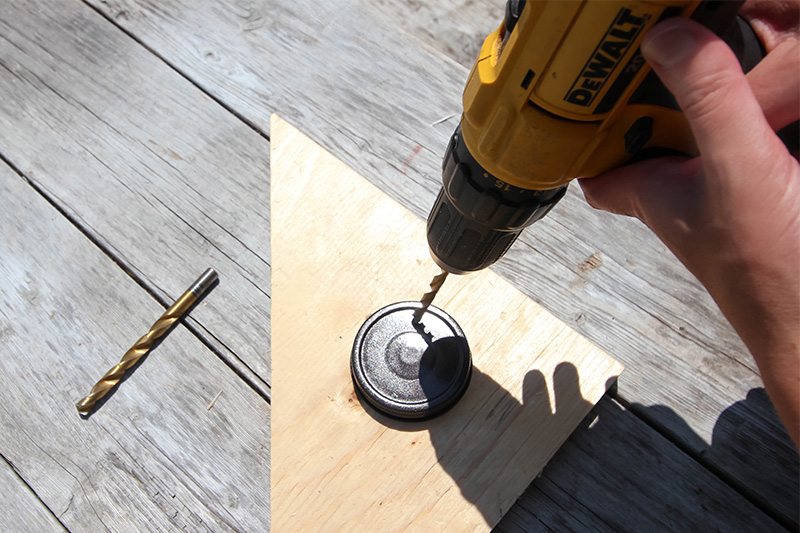
When you’re drilling your holes, it seems to be much easier if you place a little block of wood, small enough to fit inside the lid, underneath to drill in to. I used a 1/4″ drill bit for this and it seemed to be the perfect size.
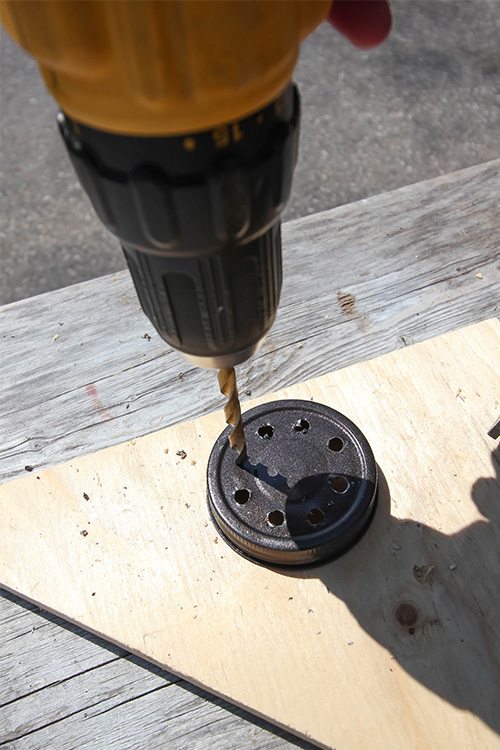
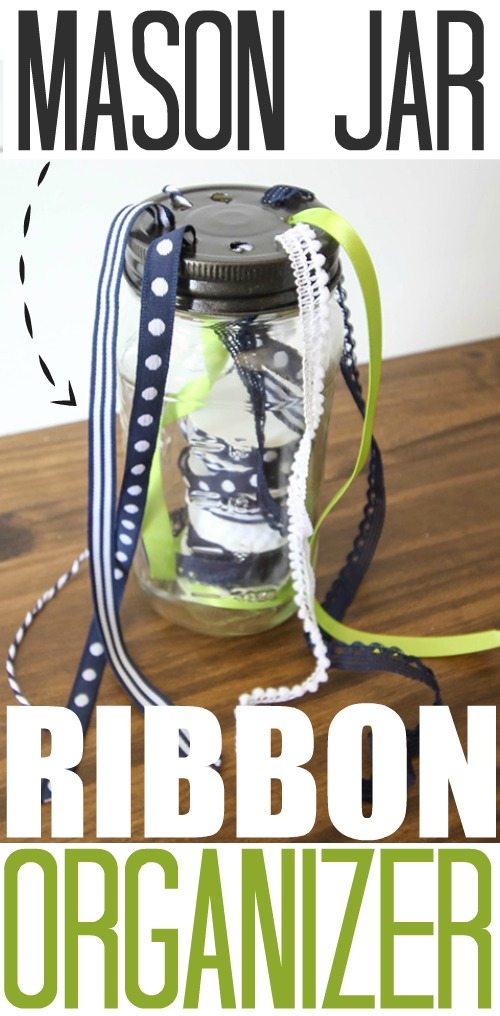
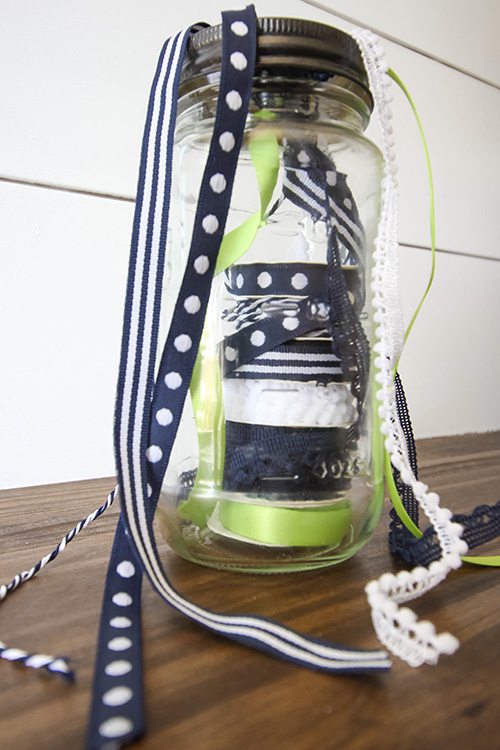
Once you’ve got your holes, you’re ready to drop your rolls in. Thread the end of the ribbon from each roll through one of the holes before dropping it in. Repeat this step, dropping each spool in on top of the previous one until you’re all done!
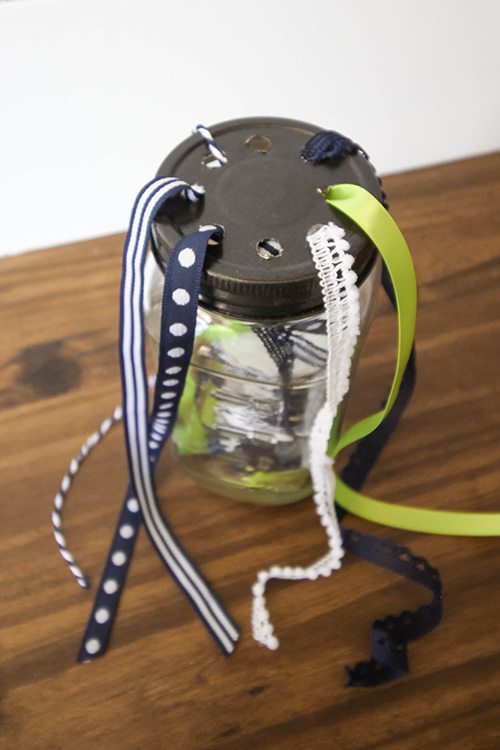
The great thing about this organizing solution is that it ends up looking really cute and farmhousey so you can leave it out on your desk and grab a bit of ribbon whenever you need it without making things look messy. If you have a whole lot of ribbon, you could do multiple jars and organize them by color, theme, or whatever other way you can dream up!
Do you have an easy DIY ribbon organizing solution like this that works really well for you?
MORE FUN IDEAS LIKE THIS!
- Top 10 Ways to Control Paper Clutter
- Mason Jar Organizing Ideas
- The 5 Finger Trick for Controlling Clutter
- Brilliantly Organized Home Offices
- The Laundry Basket in the Trunk Trick
- The Creek Line House Organizing Ideas Archives
This post contains affiliate links.

Courtenay Hartford is the author of creeklinehouse.com, a blog based on her adventures renovating a 120-year-old farmhouse in rural Ontario, Canada. On her blog, Courtenay shares interior design tips based on her own farmhouse and her work as founder and stylist of the interior photography firm Art & Spaces. She also writes about her farmhouse garden, plant-based recipes, family travel, and homekeeping best practices. Courtenay is the author of the book The Cleaning Ninja and has been featured in numerous magazines including Country Sampler Farmhouse Style, Better Homes and Gardens, Parents Magazine, Real Simple, and Our Homes.