I think I must be out to become the world’s foremost expert on making ugly rooms livable without actually really doing a big renovation. I have to be! Otherwise, wouldn’t I just gut the place already and stop torturing myself? After last Summer’s post on how to love your ugly kitchen, I’m back with another one. Yup, the kitchen’s still ugly, but we have actually managed to completely tear down and re-build one room this last year when we did baby Jack’s bedroom. Still, there always seems to be a reason to delay progress, isn’t there? I’m sure there are enough of you in these same shoes. Every time we think we’ve found our next big project, it’s either not really a convenient time (like tearing down a bathroom with a tiny baby in the house), or we think “Well if we’re going to do that project, then we might as well do this one, and that one, and that one over there too.” And then there are those that just sit there for no good reason. Eek.
Well earlier this Spring, I started really getting the itch to make this living room not make me shudder. So I’ve been slowly tackling it in 10 minute increments when I can get Jack to be happy enough in the Jolly Jumper for a little bit. It took a long time, but it got the job done! Here’s how the room used to look.

This was just a little while after we moved in three years ago. It doesn’t look too too terrible in this picture, but that’s because I was trying to not make it look too too terrible. The walls were marked up, and half-patched, and the floor was pulled up a bit so we could see the hardwood underneath. It felt icky.
In the next phase, I wasn’t really ready to paint the walls yet, but I wanted to paint a little, so I did these boxes of color, which kind of gave the feeling of molding on the walls. It was great! For a little while, then the icky feeling came back because there were still those marked up parts on the walls and the floor was still torn up a bit. I did a pretty good job of faking it for the pictures though didn’t I?
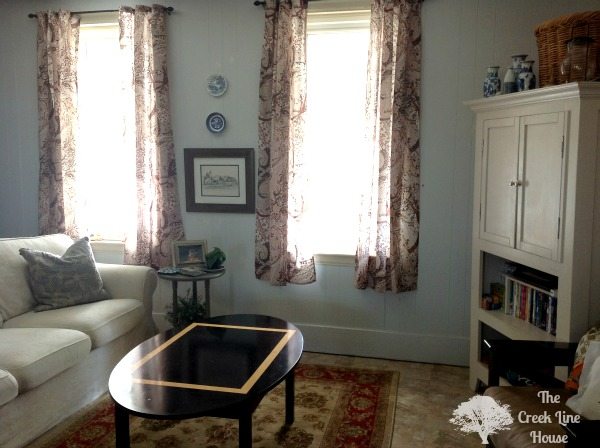
I had these (ridiculously easy to make!) capri curtains and this little rug too, which were OK, but I was over the red. Still icky-feeling.
It was time for the de-ickification (great word, right?!) to begin!
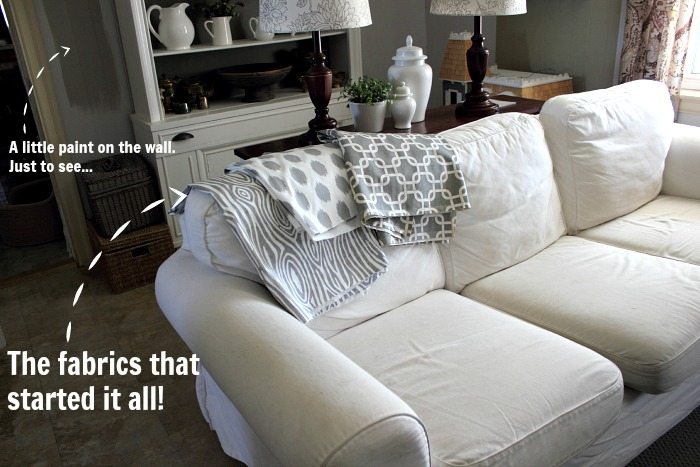
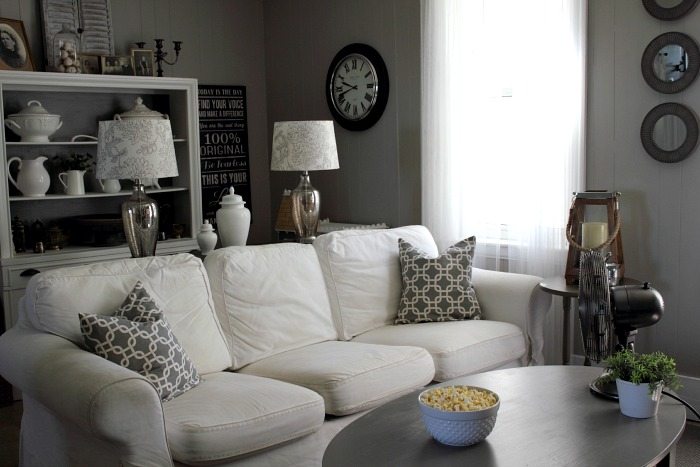
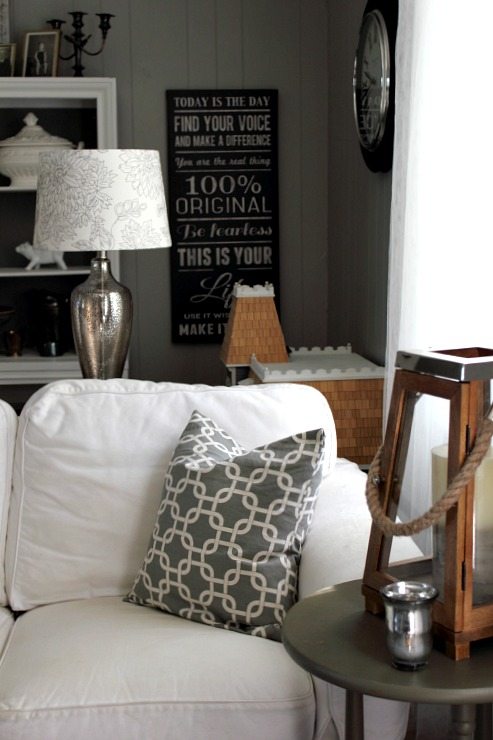
First I got these fabrics that I loved and that made me feel the exact opposite of ick and made some 10 minute pillow covers.
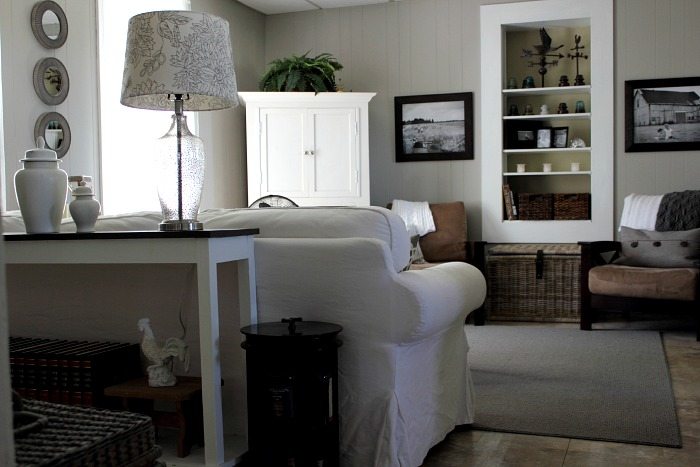
Then I gathered up my courage – all of it – and I started to paint the paneled walls. For real. All of them. The whole walls. Except the behind the hutch part. 🙂 I did it slowly, bit by bit, 10 minutes at a time, but eventually it got done! What a difference those clean walls made. It really wasn’t easy-peasy at all with baby Jack around, and I had to be all mentally prepared and stuff, but now I’m so happy I did it. It’s so fresh and clean in there now!
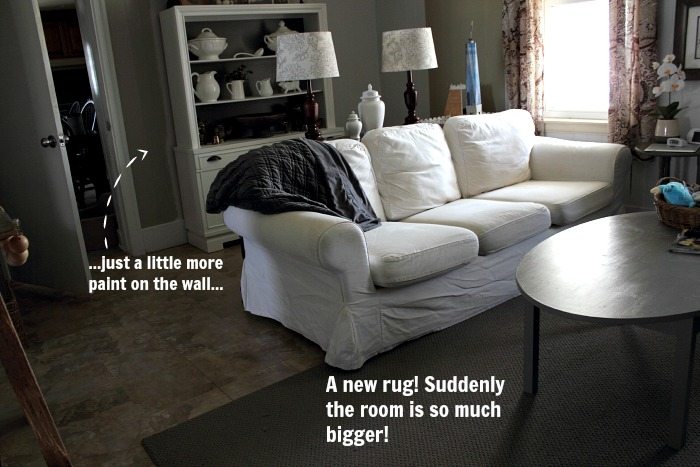
We got a new grey rug that was much much bigger than the old red one before. It’s just a cheapo, but having that big clean surface for kids to play on makes the room feel so much more usable. When it gets stray pieces sticking out from Chuck and his long nails, we just give it a little hair cut.

After those basics were taken care of, I’ve just slowly been adding things here and there, following some little rules I made for this room in my head and now this room makes me jump for joy. Sometimes literally. It’s a little weird, but my family is mostly used to me now.
Here are some of my little rules:
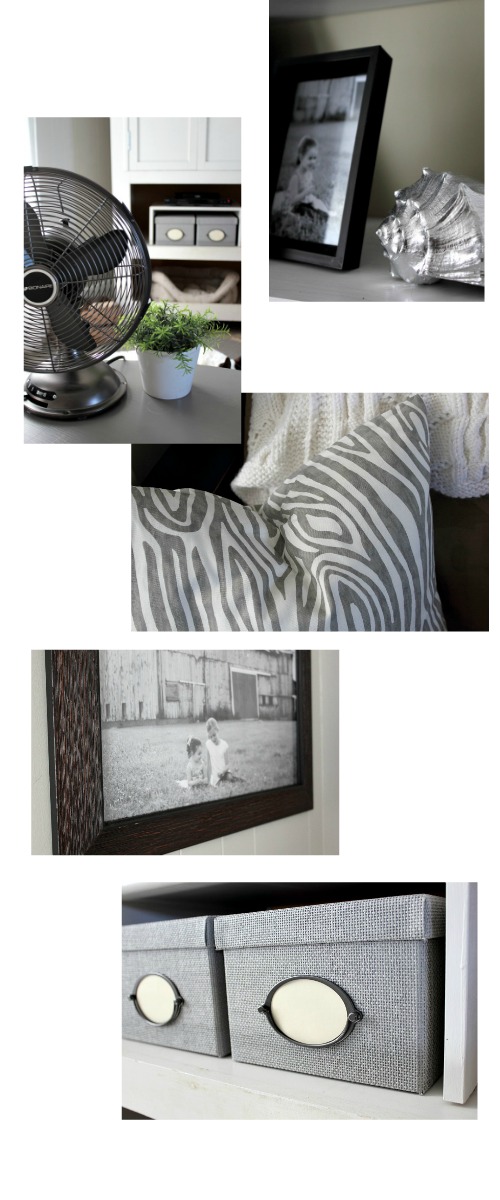
No color! None! Mostly…

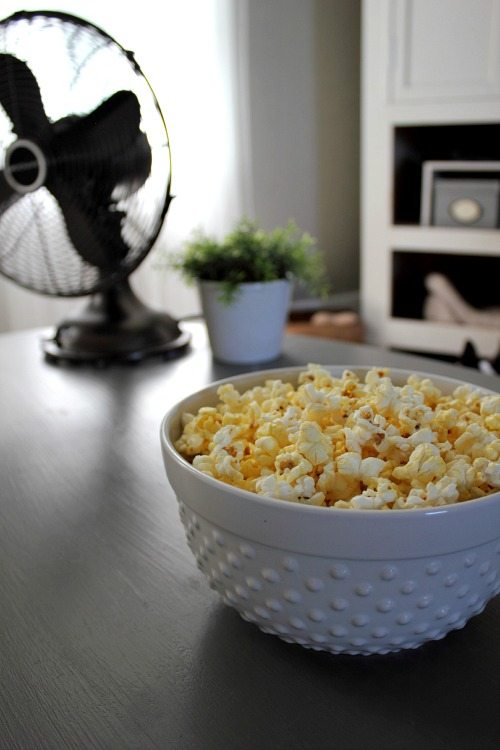
I love pops of color and I always get so excited to decorate for all the different holidays. Having everything in basic grey makes the colors that I do add kind of… colory-er… you know? So having no color in the every day stuff makes the pops of seasonal color even that much more fun and exciting for me and I don’t end up feeling overwhelmed and bored of being stuck with the same thing.
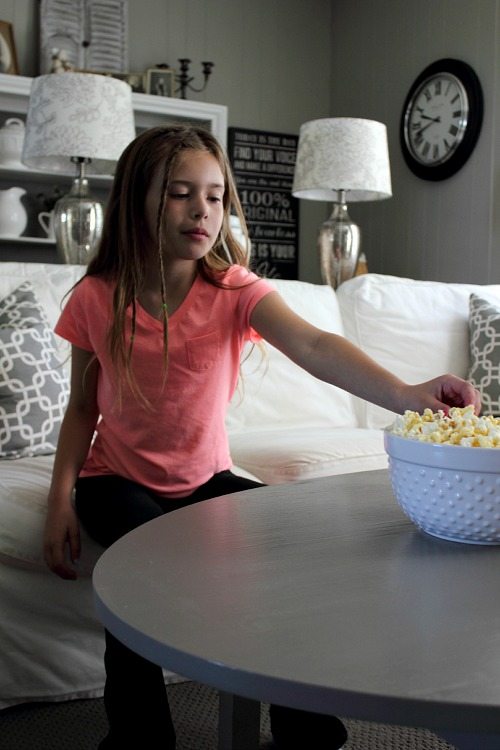
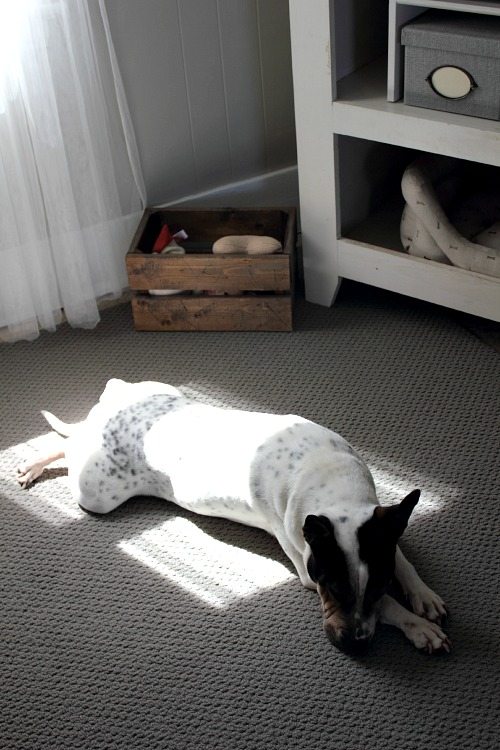
Sometimes the pops of color are family members! I don’t get bored of them though. Even if they wear the same favorite shirt everyday for a week sometimes.
Having everything all matchy matchy now with the everyday stuff makes me feel like the room is really finished and pulled together even if I just kind of stumbled my way through this.
Hide everything!
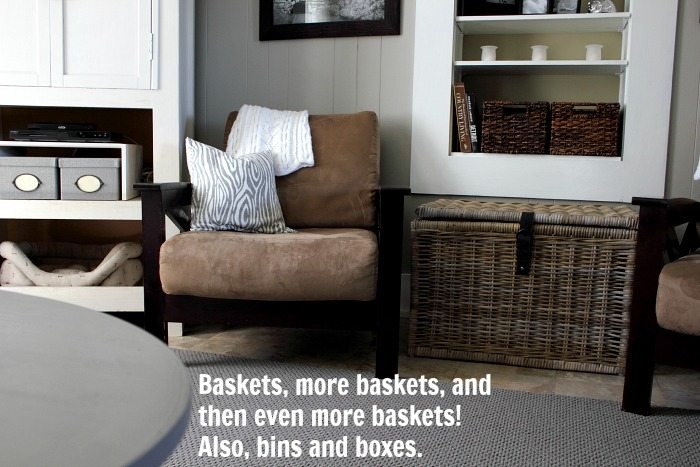
Right now in this picture there’s so much junk and so many toys hidden that you wouldn’t believe it. It’s there though! This way I don’t have to look at a million different colors from toys and stuff messing with my perfect grey back drop. Well, sometimes I do, but I can make them go away, fast! I even hid things like DVDs in those little boxes and it made a huuuge difference.
Symmetry makes it Special (and Alliteration makes it Awesome)
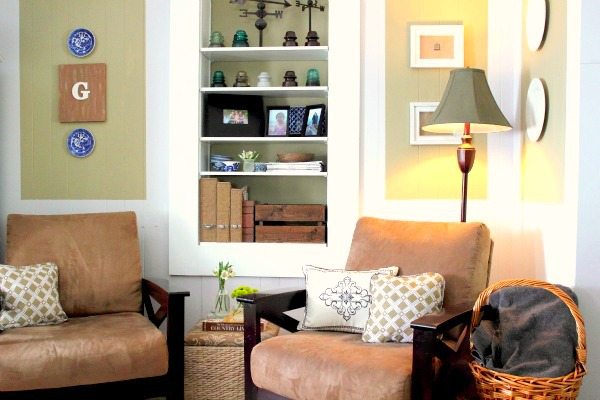
Having symmetrical elements in the room, like the chairs on either side of the shelf, along with the big photos, makes it feel a little more put-together and finished. It’s an easy trick that works if you have a space that’s feeling a little more like a college crash-pad that a grown-up home for a family.
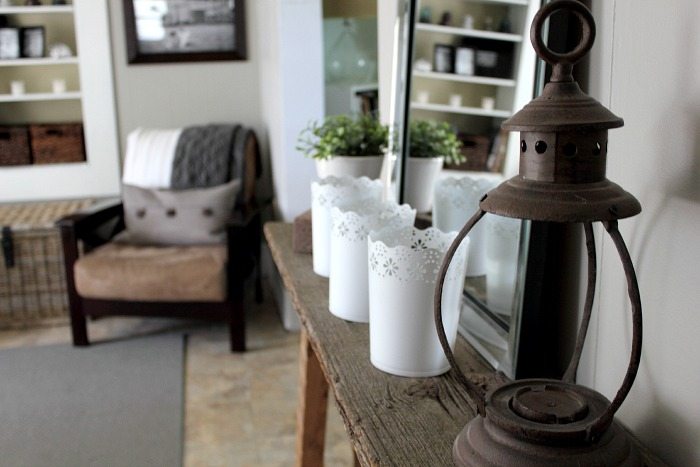
Things grouped in threes feel tidy
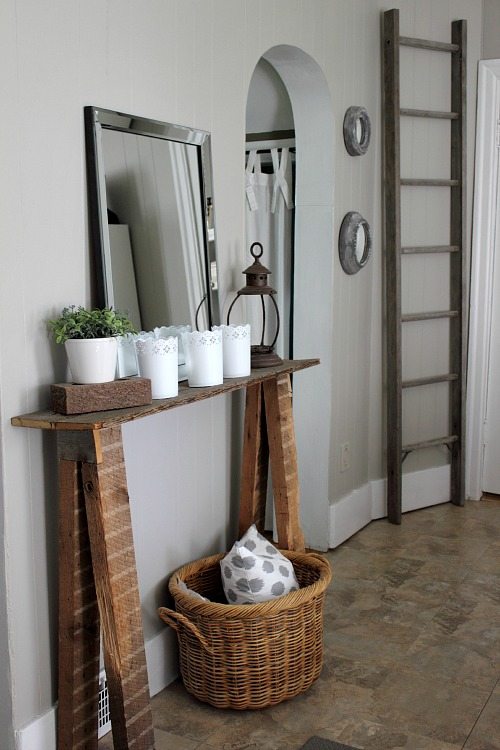
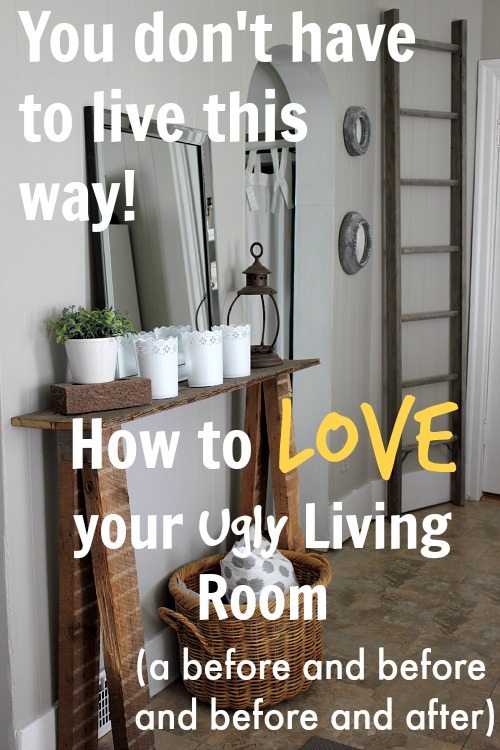
Shop This Look! Beveled glass mirror -|- White planters -|- Reclaimed wood ladder -|- Hand woven basket -|- Console table using reclaimed wood
I have no explanation for this. They just do. 🙂
So now I have a room that I love and that feels just right for our family right now, even if we do still have peel n stick tile over the hardwood for now (which we’ve patched up), a drop ceiling (for some reason) and paneled walls (not the good kind).
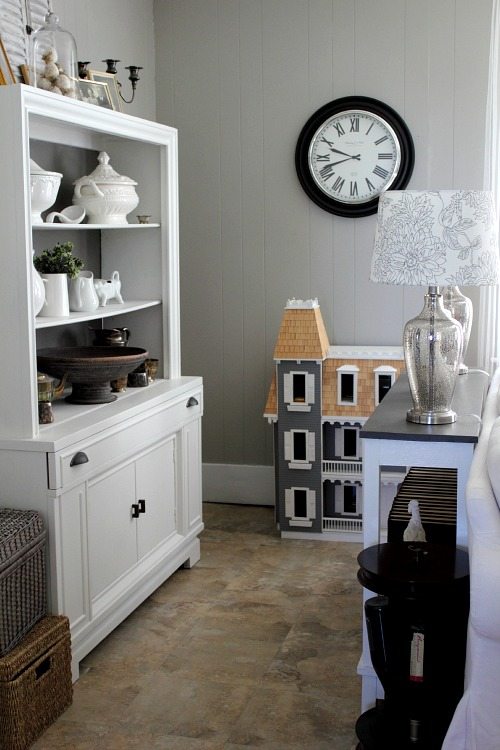
My last rule is that I have to keep adding little things to the room here and there on an ongoing basis and moving things around. Shiny new distractions and having favorite items turn up in different places goes a long ways to distracting the eye from all those not-so-favorite parts of the room.
I’m even pretty sure that I won’t lose my mind if we don’t get the floor refinished in here in the next year.
…which is saying a lot for this impatient girl!
How about you? Do you have an ugly room that you’ve learned to love? What are you tricks?
You can find my complete-ish paint color and source list for this room here!
This post contains affiliate links.

Courtenay Hartford is the author of creeklinehouse.com, a blog based on her adventures renovating a 120-year-old farmhouse in rural Ontario, Canada. On her blog, Courtenay shares interior design tips based on her own farmhouse and her work as founder and stylist of the interior photography firm Art & Spaces. She also writes about her farmhouse garden, plant-based recipes, family travel, and homekeeping best practices. Courtenay is the author of the book The Cleaning Ninja and has been featured in numerous magazines including Country Sampler Farmhouse Style, Better Homes and Gardens, Parents Magazine, Real Simple, and Our Homes.