Try these easy planter recipes to fill the pots on your porch this summer for beautiful color all season long!
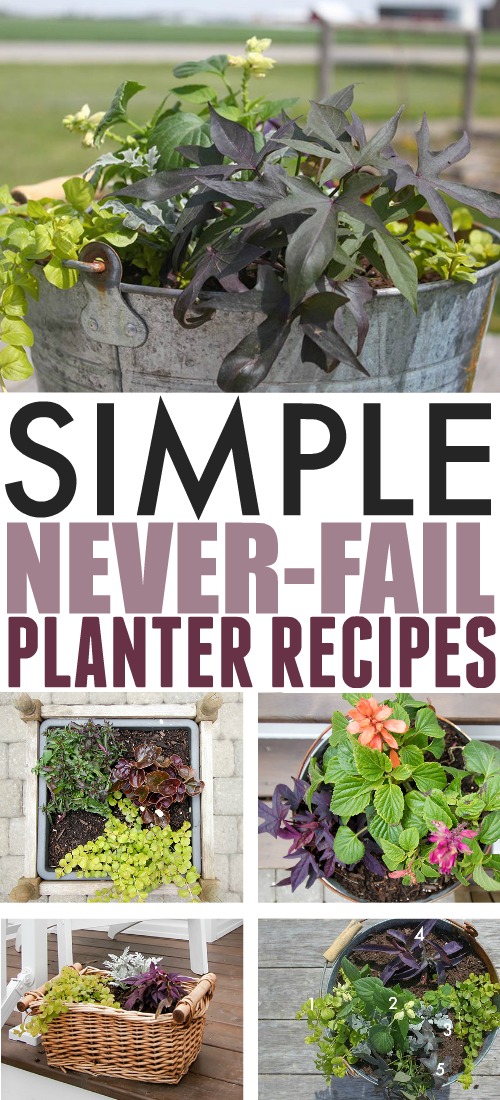
Filling my planters every spring is one of the gardening tasks that I look forward to the most every year. It feels like summer is really on its way when I have little pops of color all around my house and I really love to watch as the plants get fuller and more colourful as the season goes on. I thought it would be fun today to share a few of my favourite planter “recipes” that I’ve come up with over the last few years as I’ve discovered some new favourite plants. Whether you’re tired of doing the same old thing every year and want to try something new, or whether you just feel completely lost when it comes to filling your planters, these recipes won’t let you down. 🙂
This is definitely not a picture-perfect post today, since most of these planters were just planted recently and haven’t had the chance to fill in yet, but I wanted to share these basic recipes/ideas with you now while there’s still time to get started! Also, right after I planted these we had some crazy wind, rain, and cold, so these plants are looking a little wind-ravaged. That’s real life for you! They’ll all recover fully within a few weeks at most. 🙂
The Classic Method: Thriller, Filler, and Spiller
If you’re feeling completely lost as to where to begin with planters, or what flowers to buy, you can’t really go wrong with following the “thriller, filler, spiller” method. This just means that you should use one “thriller” or something tall and eye-catching, one “filler” or something bushy that will fill up most of the area in the pot, and one “spiller” meaning something trailing that will fall down over the sides of your planter.
I have a little confession to make though: I almost never follow this “rule” and I think I end up with planters that look a lot more interesting and a lot less old-fashioned that way. And they’re still just as easy to get right, maybe even easier! I was first introduced to the idea that I could break this rule a few years ago when I was watching old episodes of Martha Stewart Living and I’ve never looked back!
These days I usually choose my plants based on the coloration of their foliage and my method for choosing which ones go together is more like “light, dark, medium” or “bright, frosty, brighter”. 🙂 It works!
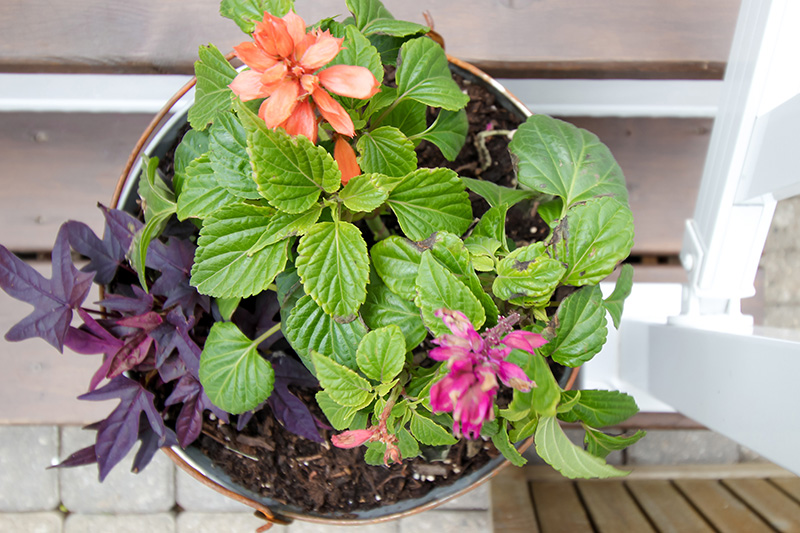
Simple Planter Recipes: The One for all Conditions
I’ve used something similar to this combination for my front planters for the last few years so I’m getting to know these plants and how they interact together quite well. 🙂
Side note: I didn’t realize how badly these planters need to be stained/painted until I saw this picture. Oops! That’ll be a project for this fall I guess once these flowers are all done!
Recipe:
- Lobelia “Regatta Midnight Blue” (top left corner, will have tons of tiny blue flowers)
- Begonia “Bada Boom White” (top right corner, white blooms with dark red/purple foliage) – my kids think the begonias with green leaves are better, but I love the way these glossy red leaves contrast with everything else! 🙂
- Creeping Jenny (bottom, no blooms, just cascades of these little chartreuse leaves that remind me of strings of pearls!)
The neat thing about this combination of plants is that during summers that are a little shadier and a little rainier, the lobelia does really well and kind of takes over and creates this big blue poof over the whole planter that looks pretty great. If it’s a hotter, drier summer, then the lobelia tends to grow a little more slowly and the begonias really take over and steal the show. Either way you end up with a really well-filled out planter quite quickly that doesn’t require a lot of upkeep at all other than a little bit of watering here and there. The creeping Jenny just seems to keep growing and growing no matter what and it’s actually pretty spectacular the way it seems to start taking everything over by the end of the season. It reached the ground and started spreading out by the time fall came around last year and this year I found that it seems to have actually naturalized itself into our paving stones. I couldn’t bring myself to rip it out this year so it’s still there. 🙂
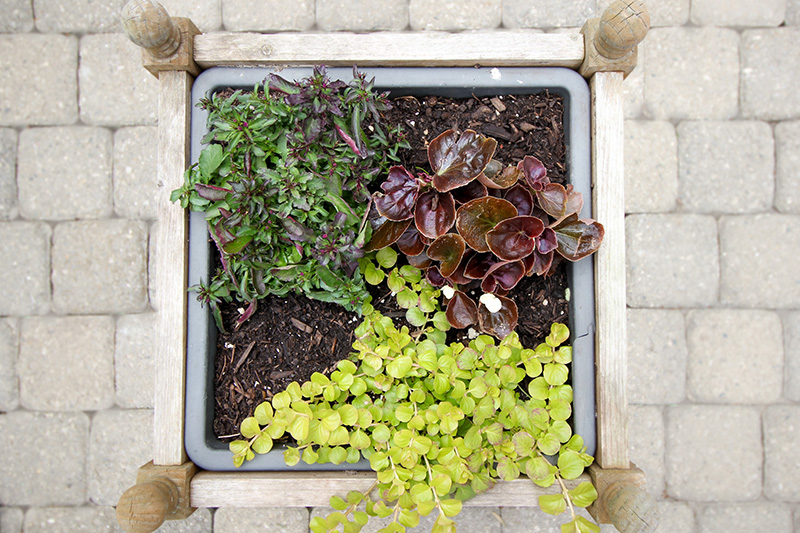
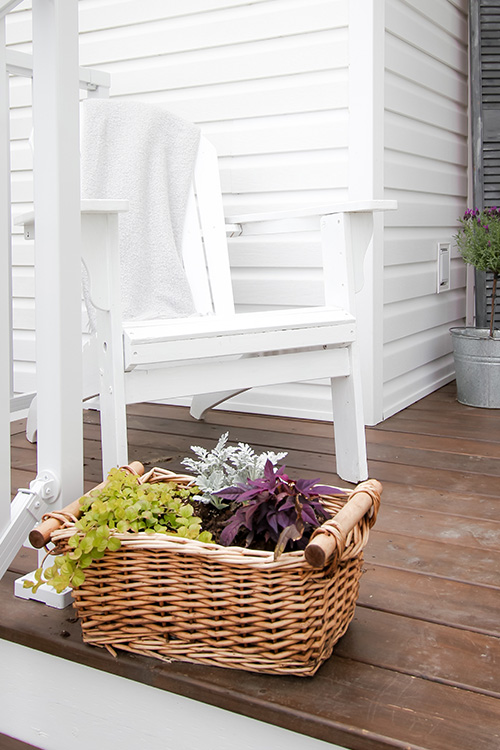
Simple Planter Recipes: The Most Interesting
As I mentioned earlier, I love to focus on the colors of the foliage of the plants rather than the flowers most of the time. That way, the planter looks beautiful even when the flowers aren’t in full bloom. When they are, that’s just a bonus! 🙂
For this planter I used plants from basically every foliage colour category: Light, bright, frosty, dark, purple, etc. It sounds like things could get a little crazy when you do this, but here’s the trick: Try to repeat at least one of the elements in different areas of the planter. This will help to “ground” your design and give your planter a sense of having one “main” plant as well as a few “feature” plants. This isn’t always necessary, but it definitely helps if you feel like something is looking a little off with your planter design.
Recipe:

- 1)Creeping Jenny
- 2)Salvia “Salsa White”
- 3)Dusty Miller
- 4)Purple Heart (Gets tiny hot pink flowers here and there at time throughout the season, but not a lot of blooms)
- 5)Sweet Potato Vine “Floramia Black”
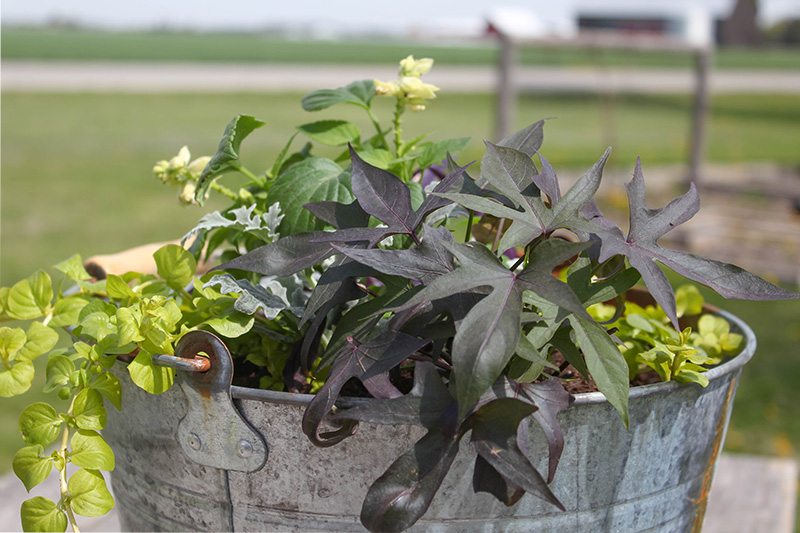
Simple Planter Recipes: An Economical Planter Design
It’s definitely really fun to go crazy and put 5-6 different types of plants in one single planter. You end up with a really beautiful explosion of color and your planter will start to look really full a lot sooner. Let’s be honest though: That can get pretty expensive, especially if you have planters to fill on a back deck, a patio, a front porch, a side porch, next to the garage, etc. etc. etc.
Here’s one option for a planter that’s a little more economical. I chose these plants because I know that they’ll double and triple in size pretty quickly so I can use fewer plants in a large planter and still get a really eye-catching, non-boring planter out of it for my porch.
Recipe:
- Salvia (No color name listed for this one! Each pot was just a mix, so we’ll see what we get as the season progresses!)
- Sweet Potato Vine “Floramia Black”
That’s just a single 4″ pot of each type of plant! The salvia tends to really spread out and make itself at home quite quickly and really fills a planter in within a week or two.
Here’s another option that will fill in really well and doesn’t require a lot of plants:
Recipe:
- Creeping Jenny (front left)
- Sweet potato vine “Floramia Black” (front right)
- Dusty Miller (back)
Dusty Miller is definitely underused in my opinion. I had one planter last year that I put a single dusty miller plant into, just because it was left over, and it filled the whole thing by the end of the season! It was really striking.
Whoops! That was actually four planter recipes, wasn’t it? I just can’t stop once I get talking about plants. What can ya do? 🙂
Be sure to follow along with me on Instagram and Instagram Stories and I’ll keep you updated on how these are filling in all season long!
MORE IDEAS LIKE THIS
- How to Use a Galvanized Container as a Planter
- How to Use a Basket as a Planter
- Sharpening Pruning Shears
- How to Revive a Leggy Petunia
- The Creek Line House Gardening Archives

Courtenay Hartford is the author of creeklinehouse.com, a blog based on her adventures renovating a 120-year-old farmhouse in rural Ontario, Canada. On her blog, Courtenay shares interior design tips based on her own farmhouse and her work as founder and stylist of the interior photography firm Art & Spaces. She also writes about her farmhouse garden, plant-based recipes, family travel, and homekeeping best practices. Courtenay is the author of the book The Cleaning Ninja and has been featured in numerous magazines including Country Sampler Farmhouse Style, Better Homes and Gardens, Parents Magazine, Real Simple, and Our Homes.