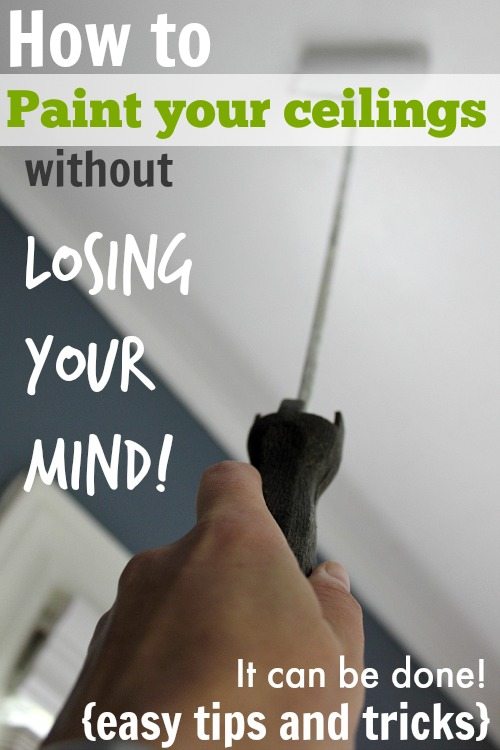
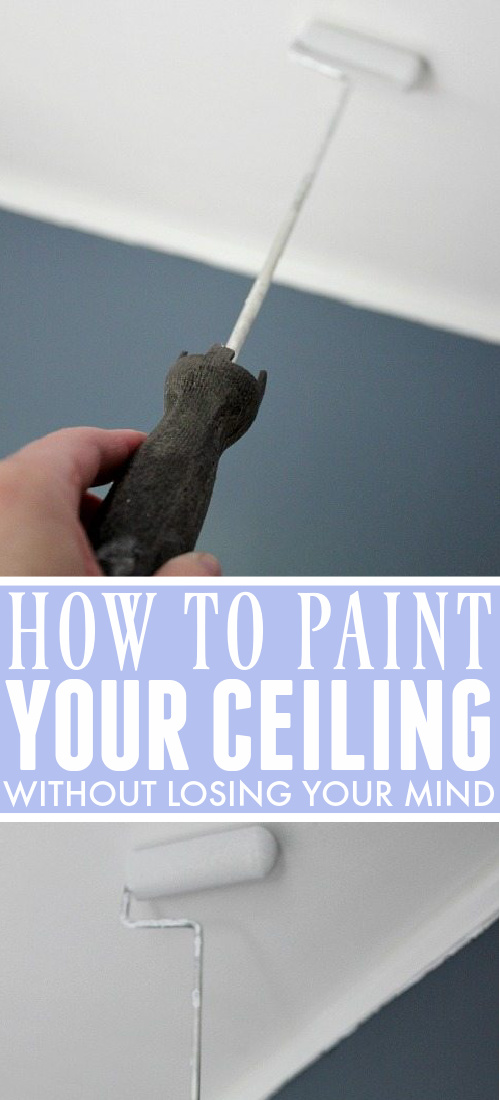
Sharing some easy ceiling painting tips today that make the whole job so much less painful. No one loves to paint ceilings, but you can at least keep your sanity. 🙂
A lot of the time when people tackle the job of painting a room, they just do the main part of the wall and leave everything else as-is. Sometimes they’ll do the trim too if it’s looking really grubby, but a lot of us leave the ceilings off the of to-do list until they’re looking really shabby.
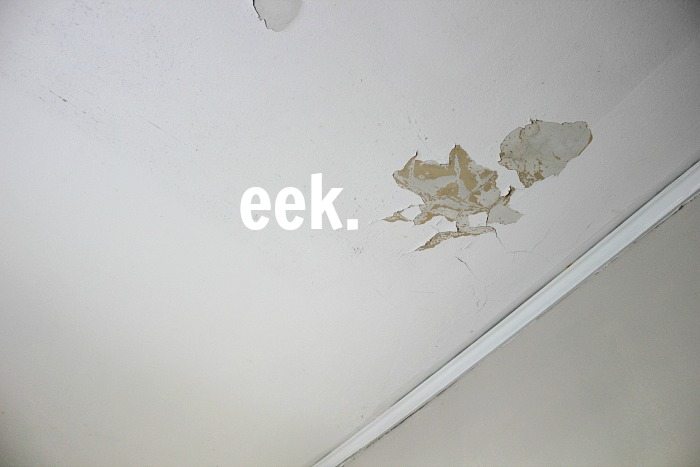
Like this.
Or this.
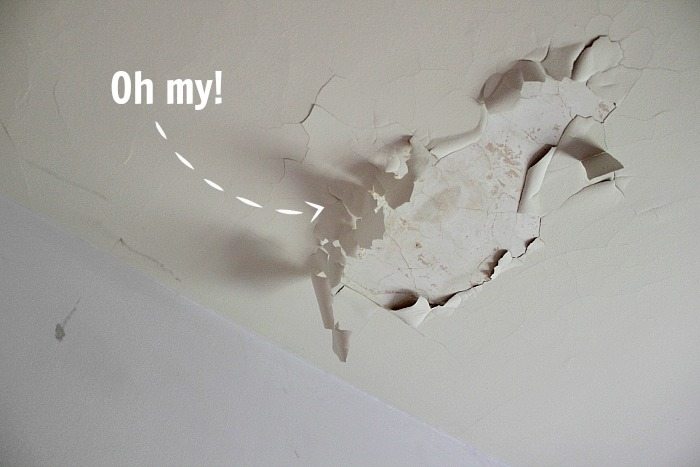
Yup. Those are pictures of some of the ceilings in our old house, thanks to the passage of time and a very leaky roof. Thankfully we had a new metal roof put in last Spring, so now leaks are a thing of the past. By the way, I feel like I should talk about the roof at some point. Is that something you’d like to see/read about?
Anyway. A lot of us put off painting our ceilings until they look really embarrassing because, let’s face it, painting ceilings can be HARD. Not just technically difficult, but physically demanding and time-consuming too!
It’s a shame though, because even a basic not-so-fussy paint job on a ceiling can really brighten and freshen a room up in that “I don’t know what it is, but this room just feels so much better now” kinda way.
So last week I started tackling some of the ceilings in our house and it was actually a really pleasant and easy experience. I thought I’d share my tips today so you can join in on the fun if your ceilings need a little love too.
Scrape, patch and repair only where necessary
Go ahead and scrape off anything that’s hanging down off of your ceiling, and be sure to clean your ceilings well before starting, but don’t feel like you need to sand the whole thing down, mud the whole thing, and sand it all down again to do a “good job”. Honestly, no one’s going to notice if there are slight imperfections in your ceiling. They’re expecting it to be a plain white ceiling and unless there’s anything (like on mine) drawing their attention to it, they won’t notice. They’ll just notice that your room feels nice and clean and fresh and they won’t be looking for where you messed up, so go easy on yourself! It’s going to look awesome.
Don’t tackle the job on really hot days or in super high humidity
Painting above your head like that already means you’re going to be more prone to drips than usual, and when you paint in really high heat or humidity, the paint tends to thin out and drip more easily. Painting a ceiling on those days is just a recipe for disaster that you do not need to be serving to yourself.
Put on a fan
When you start out, this step will seem totally unnecessary, but give yourself five minutes and you’ll be happy for the cool breeze. Keeping the air flowing helps to dry the paint more quickly and prevent drips and it’ll also keep you comfortable. Holding your arms up like that is hard work!
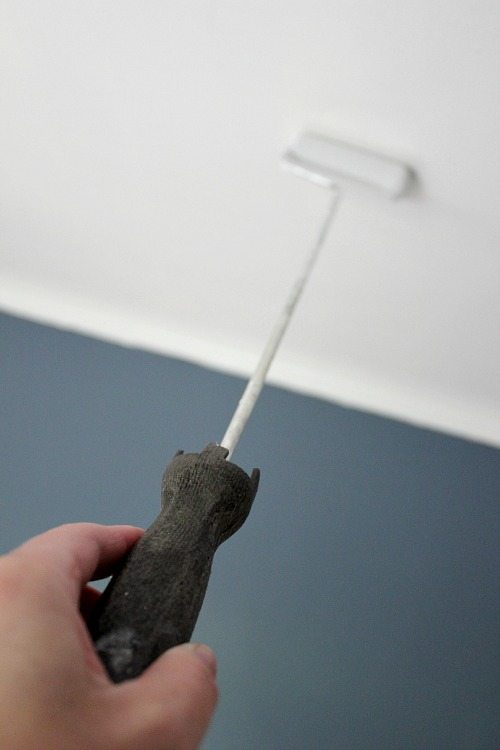
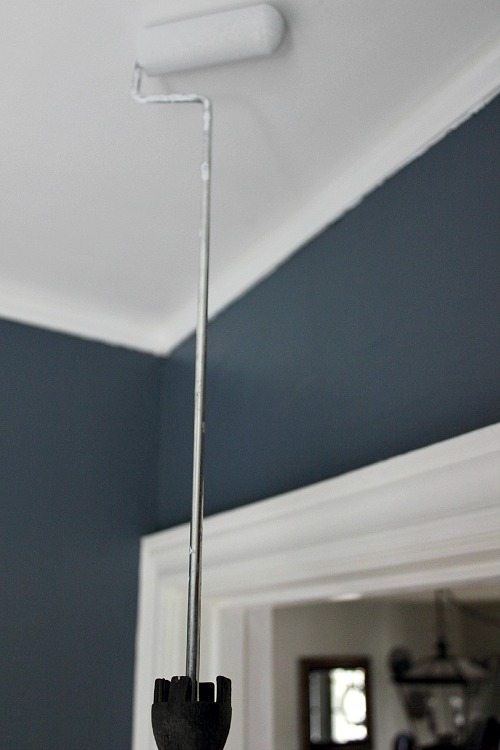
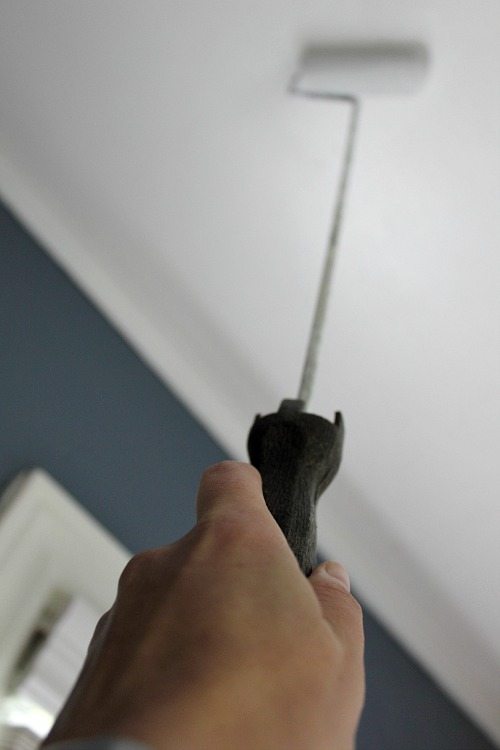
Use small, light-weight foam rollers
You think that using those big, heavy wide rollers will make the job go more quickly, but once you fill that thing up with paint, it will be so heavy that you run the risk of getting exhausted before you finish the job. Use one of those cheapo 4-6″ foam rollers and you’ll just fly through the job. I paint full rooms with them all the time and because of how easy they are to handle, the job actually goes much more quickly than with a big roller. Try it out if you don’t believe me! For ceilings, look for the rollers with a longer handle to make your life a bit easier.
Use that pink-tinted ceiling paint. But sometimes don’t
If you’ve never painted a ceiling before, let me tell you about this neat stuff they have out now. It’s paint that’s tinted pink or purple when it goes on, but turns white as it dries and it makes painting ceilings and seeing where you left off, so much easier. It’s just a brilliant invention. The only time that you shouldn’t use that kind of paint is if you’re doing bathroom or kitchen ceilings. The humidity in those rooms can tend to keep the paint from staying dry enough and the pink tint will show up again. So stick with regular white paint in those rooms.
Work in small sections, get really confused, and then come back and touch it up
If you’re having trouble remembering which sections you’ve already painted on your ceiling while you’re working, you’re not alone. Looking up like that can make you get turned around and you might forget where you were just working when you need to refill your roller. Just try to work in small square sections, a little at a time and do your best. After you’ve done two light coats. Let it dry for a bit, leave your roller out, and come back to it once it’s a bit dryer. Look and see if you notice any spots that really obviously need touching up and do it then. This will give you an idea of how it will look when it’s dry and you can see where it’s really needed versus the spots that you’re just being paranoid about.
Really, don’t be so hard on yourself
Hey, you’ve just painted a ceiling, one of the most daunting painting tasks that you can tackle! And you know what? Your ceiling looks amazing! Anyone who comes in your home will agree. So pat yourself on the back, and forget about those spots that you’re not sure if you got two coats on or not, or where you think maybe you could have done a better job of patching it up. Just enjoy the fresh clean look and know that everyone else does too!
This post contains affiliate links

Courtenay Hartford is the author of creeklinehouse.com, a blog based on her adventures renovating a 120-year-old farmhouse in rural Ontario, Canada. On her blog, Courtenay shares interior design tips based on her own farmhouse and her work as founder and stylist of the interior photography firm Art & Spaces. She also writes about her farmhouse garden, plant-based recipes, family travel, and homekeeping best practices. Courtenay is the author of the book The Cleaning Ninja and has been featured in numerous magazines including Country Sampler Farmhouse Style, Better Homes and Gardens, Parents Magazine, Real Simple, and Our Homes.