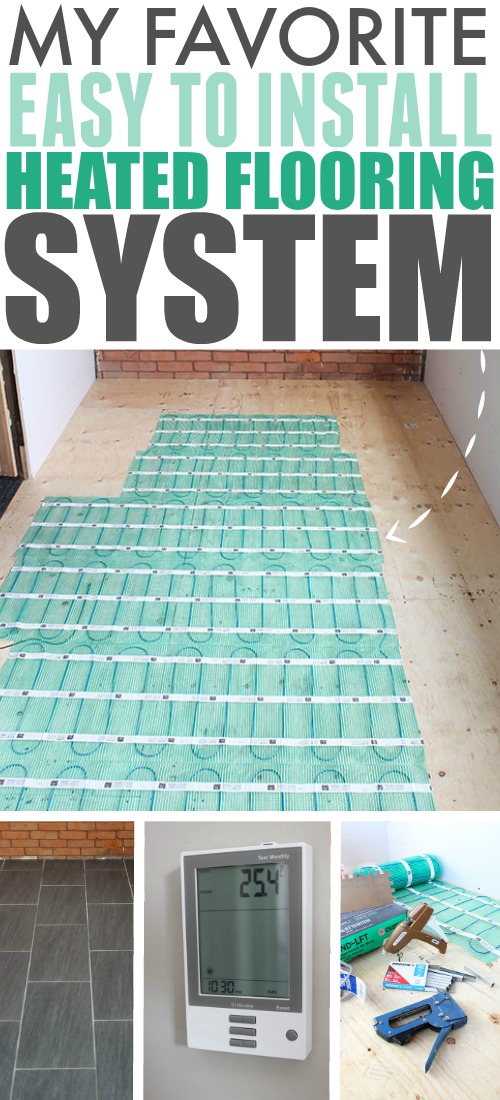
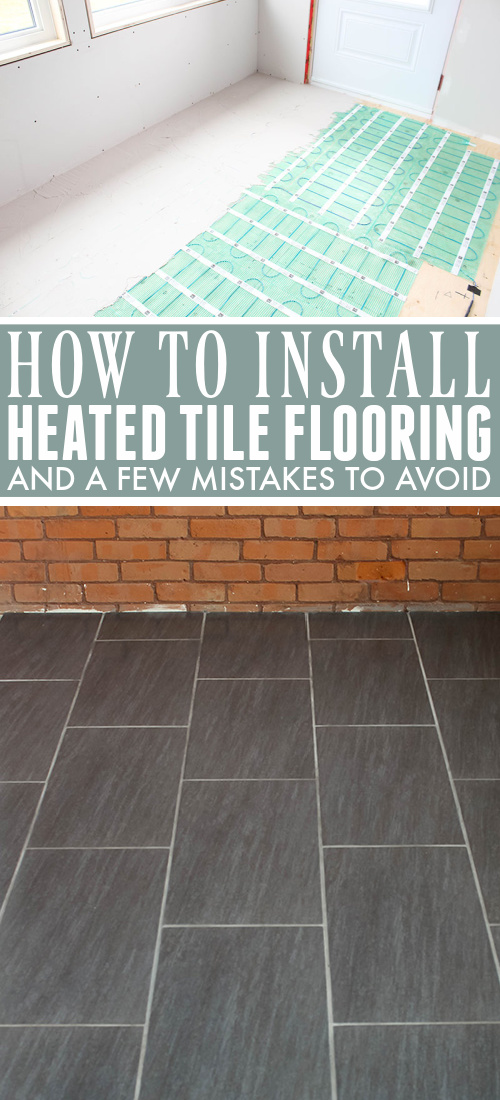
If you dream of having heated floors in your home but worry about what a big, difficult project installing them can be, check out this easy to install heated flooring system! This is definitely the way to go!
We’re getting to the point in our big mudroom renovation/addition project where we’re starting to tackle the fun stuff! We just finished up with the flooring in there and we decided that heated flooring was definitely the way to go. Aside from the fact that stepping out onto a heated floor when you take off your boots feels so cozy and welcoming, heated flooring is also really practical because it helps water and snow on your floor dry more quickly. We’ve installed heated flooring in the past and it was a bit of an adventure, so this time around we were looking for a more easy to install heated flooring system.
We love our heated floor in our master bathroom and next to the door in our little mini back hall mudroom, but when we installed it, we definitely learned a lot about all of the things that could go wrong. In the post I wrote about that process, I mentioned that we would be using a different style of heated flooring system the next time we did heated floors, so that’s exactly what we did!
Choosing an Easy to Install Heated Flooring System
We did a whole bunch of research this time around before embarking on our heated flooring project. It helped that this was an incredibly cold winter so we weren’t able to get too much done in our mud room during the winter months this year! We found a company called WarmlyYours that makes exactly the kind of easy to install heated flooring system that we were looking for. As a bonus, WarmlyYours also provides their customers with a Smart Plan for exactly how to install their heated flooring system in their exact room. I was so thrilled when they decided to partner with us on this project and provide the heated flooring system for our mudroom!
We just sent them a basic drawing of the dimensions of our room and they sent us back a detailed plan of where exactly to place all of the components of our heated flooring system and we had someone we could reach out to with any questions we had about the installation. WarmlyYours offers 24/7 tech support which is so reassuring when you’re embarking on a bit of a daunting project like this. I’m telling you, if you’re installing your first (or even your second) heated flooring system, this is definitely the way to go. Although our last system works really well, we just bought all the components for it in a box and we were kind of on our own to figure out how everything should be set out in the room. Having this Smart Plan made specifically for us by someone who knows all about heated flooring really gave us a lot of confidence and made the actual installation process so much quicker.
Installing Our New Heated Flooring System
So here’s how we installed the heated flooring this time around!
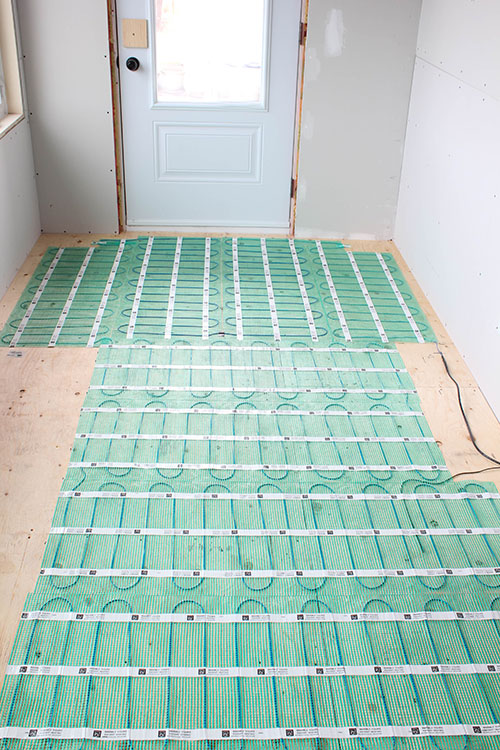
We started with a level plywood subfloor and our rolled up heated flooring system. The entire system came in one tidy roll and was just unbelievably simple and non-overwhelming to deal with. With this type of flooring that we used, you get a mesh backing with the heating wires already in place on the backing with the correct spacing. It’s really just a matter of laying the mesh down on your floor.
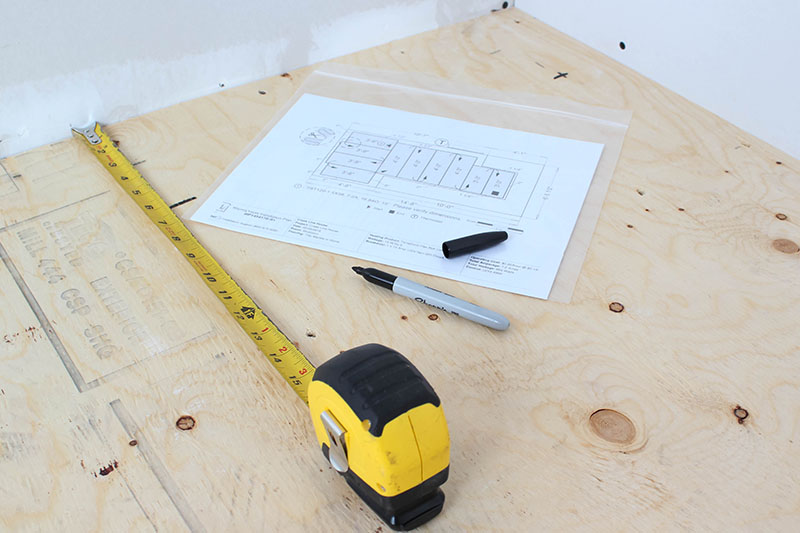
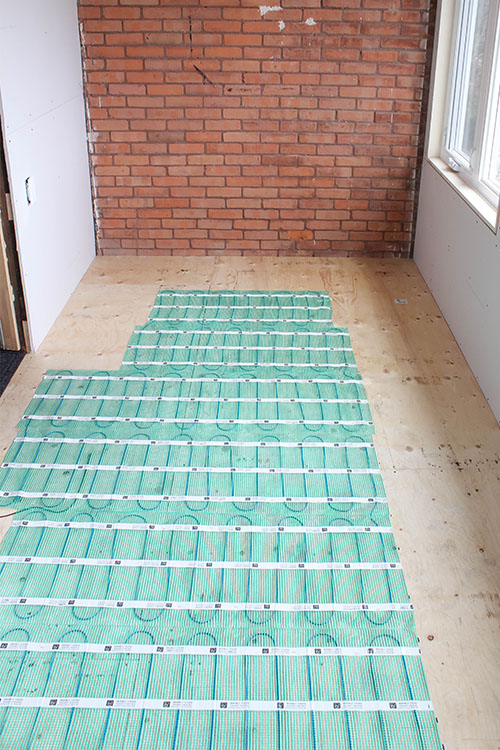
We followed our Smart Plan and unrolled enough of the mesh to cover the first section.
When you’ve measured your first section, you need to cut the mesh backing, but leave the wire uncut so it can continue on to the next section of backing that you lay down.
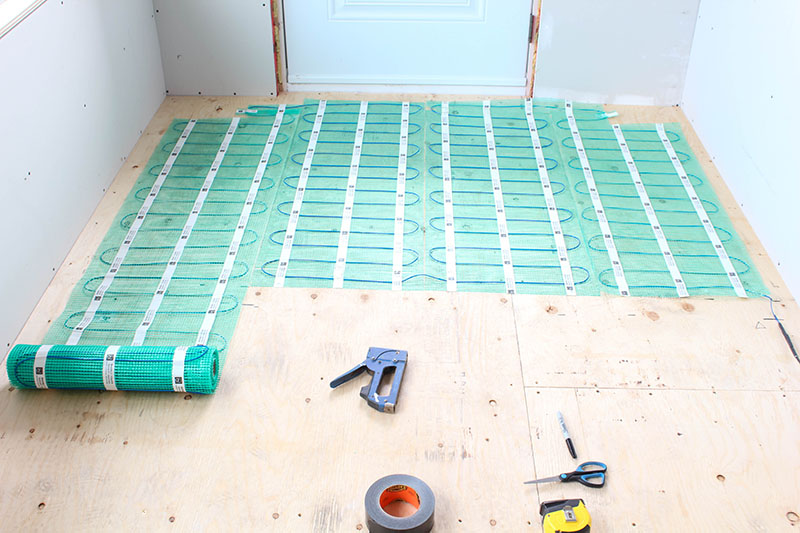
We continued measuring out sections of mesh, cutting them, and laying them down according to our Smart Plan, and the wire ended up weaving it’s way through the room in the perfect layout automatically!
Included in our Smart Plan were options for compatible thermostats including this fully programmable digital thermostat that we ended up using with our system. Keep in mind most building codes require a GFCI breaker on any heated flooring system. Fortunately all thermostats provided by WarmlyYours have the GFCI built in to the thermostat as well as the floor sensor.

Securing The Easy to Install Heated Flooring System in Place
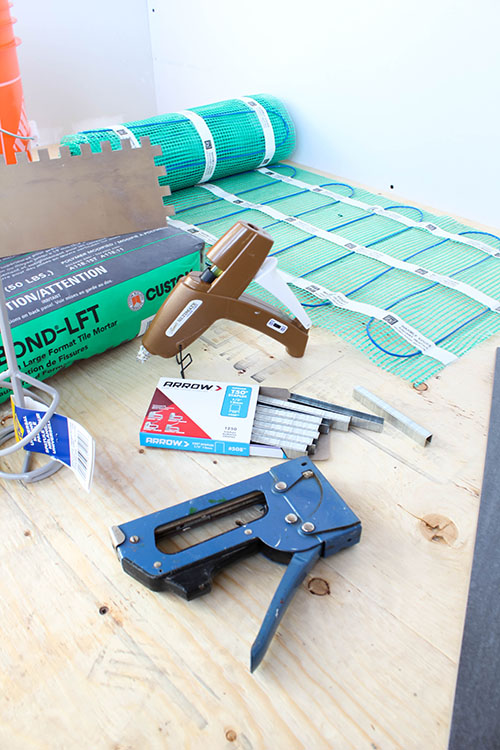
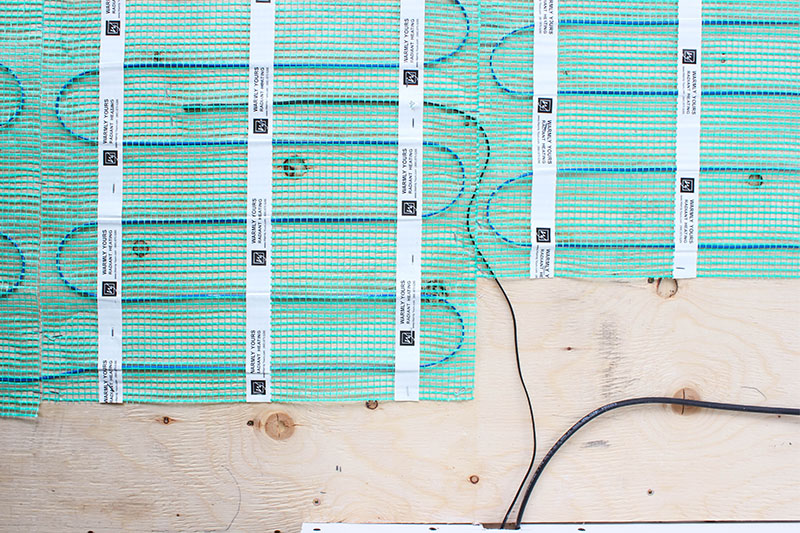
The mesh is actually self-adhesive and has spots where you can remove a backing to allow the mesh to be attached firmly to your floor, kind of like a bunch of little stickers or command strips. We actually didn’t realize this until later on in the process, so we just attached our mesh to the floor using a staple gun. Oops!
Oh well, it worked! 🙂
If you have any areas where the wire is outside of the mesh backing, such as between sections, you can secure the wire in place using dab of hot glue or a small piece of duct tape.
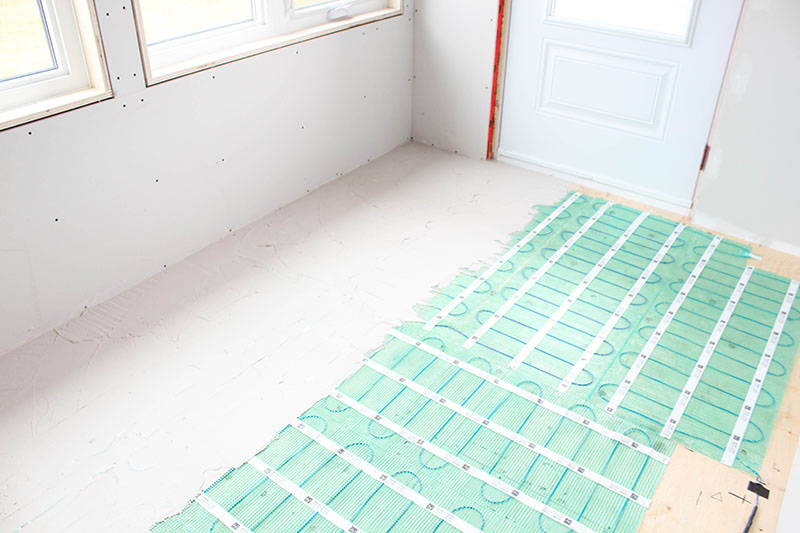
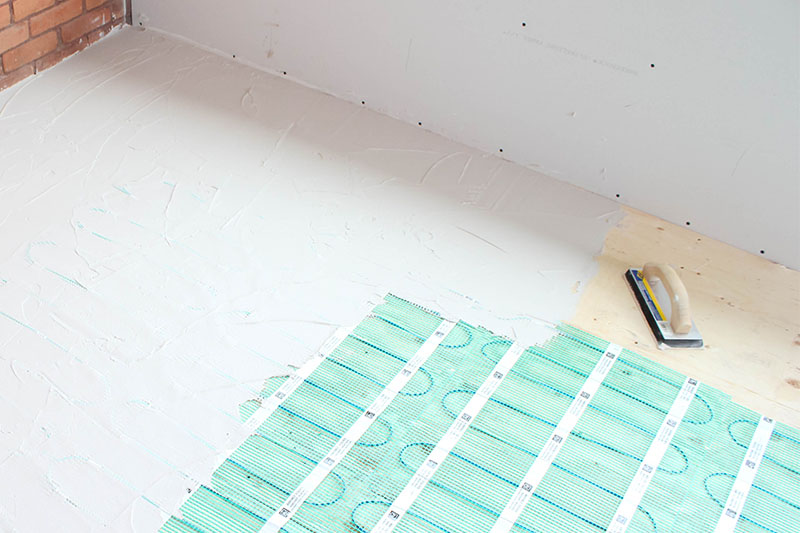
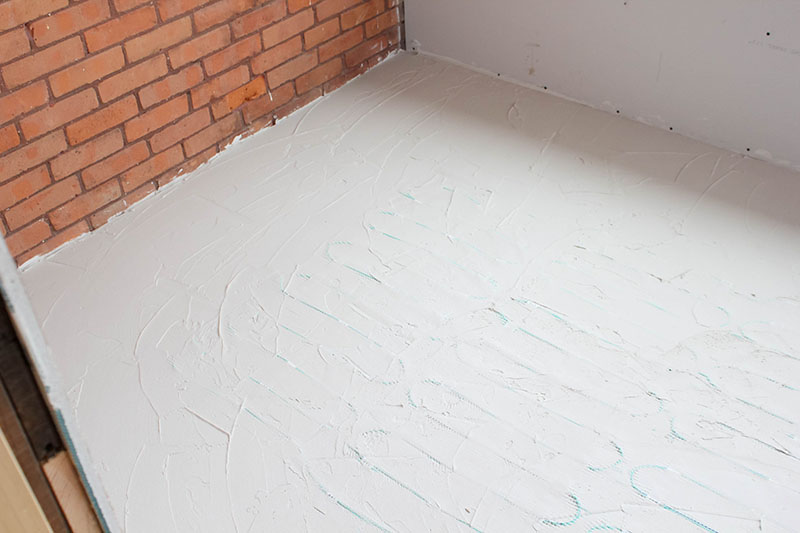
Once we were happy with how we had the heated flooring system in place, which took no time at all, we applied a generous layer of medium bed mortar over the entire thing. It’s OK if the heated flooring system is still showing through, because it’s actually fully protected by the mesh, but you want enough mortar to hold the whole system in place firmly and give you a nice level surface to work on when you’re laying your tile.
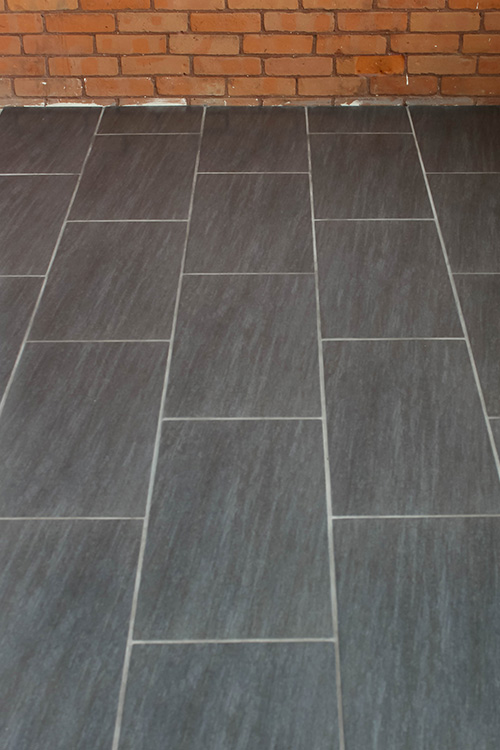
You can read about the process of installing the big 12×24 tiles we used here. Although the heated flooring system is a much more exciting project than installing the tiles, it was actually by far the easiest part about installing the flooring in this mudroom! 🙂
The Results of Our Heated Flooring Project
I can’t believe how much less stressful this WarmlyYours heated flooring system was to install compared to the last time we did heated flooring! Really, the difference is like night and day.
If you’re thinking about installing heated flooring in your home, I’d definitely recommend getting in touch with Warmly Yours and allowing them to get you set up with the correct type of heated flooring system and Smart Plan for your project. I don’t know about you, but I’ve done enough stressful home improvement projects to know that I’ll take easy and stress-free any day if that option is available!
Thank you so much to WarmlyYours for supplying the heated flooring system for this room and for making this part of our mudroom renovation so much easier!
MORE POSTS LIKE THIS
- Everything You Need to Know Before Installing 12×24 Tile
- How to Remove Stubborn Grout Haze from Tiles
- Starting on Our Big Main Mud Room Project
- Before and After Makeovers Where Paint Made All the Difference
- How to Get Your Spray Paint Projects to Dry Almost Instantly
- The Creek Line House DIY and Renovating Project Archives

Courtenay Hartford is the author of creeklinehouse.com, a blog based on her adventures renovating a 120-year-old farmhouse in rural Ontario, Canada. On her blog, Courtenay shares interior design tips based on her own farmhouse and her work as founder and stylist of the interior photography firm Art & Spaces. She also writes about her farmhouse garden, plant-based recipes, family travel, and homekeeping best practices. Courtenay is the author of the book The Cleaning Ninja and has been featured in numerous magazines including Country Sampler Farmhouse Style, Better Homes and Gardens, Parents Magazine, Real Simple, and Our Homes.