I gave you a quick peek at the new laminate flooring that we installed in our living room and dining room a couple of weeks ago, but I thought it would be nice to also show you a little bit about the process of putting the flooring in. Not so much of a step-by-step how-to, more of a “before, during, and after” kind of thing. Just ’cause it’s fun to watch projects like this in progress, isn’t it? And then it seems like a good idea to share a few tips for choosing laminate flooring while we’re at it, as well as to tell you about our laminate flooring specifically, because I’ve received so many questions about it. 🙂
I have to say, that although laminate flooring is super easy to install, and requires very few tools, it’s still a pretty big project when you factor in cutting all the pieces and then installing all the trim work around the whole perimeter of your room or rooms. We worked on this over the course of a couple of weeks, but we managed to get the biggest chunk of it done in one long day where the furniture was all over the place. When I say “we”, I really mean that Chris installed the flooring and I made forts with Jack between all of the displaced furniture. We were both actually pretty exhausted at the end of that day!
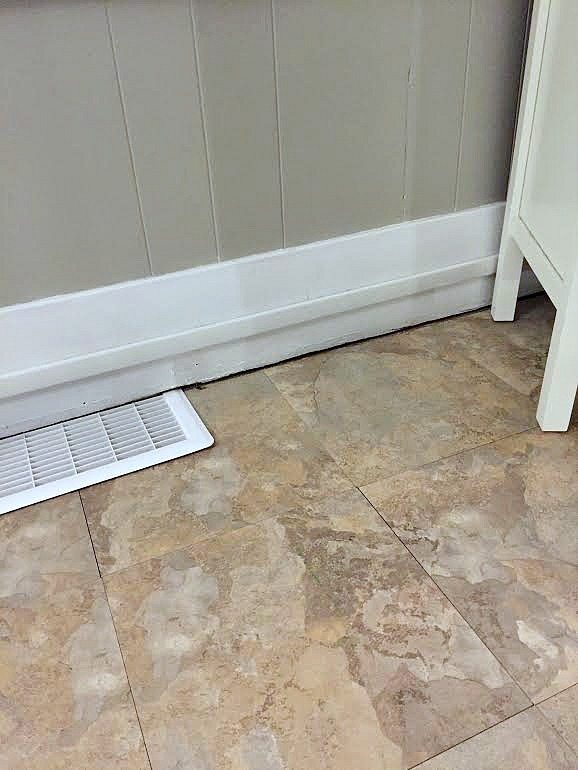
We had a pretty crazy flooring situation to start out with in these rooms. We had two different types of peel n stick tile in the living room and dining room, and the original hardwood running down the front hall. We have another type of vinyl flooring in the master bedroom too, and we’ll be replacing that with the same laminate soon! Oh man is that ever going to look awesome. I can’t wait. 🙂
Most of these “in progress” photos were taken with my phone so they are what they are, but at least you can get a pretty good idea of what the process looked like.
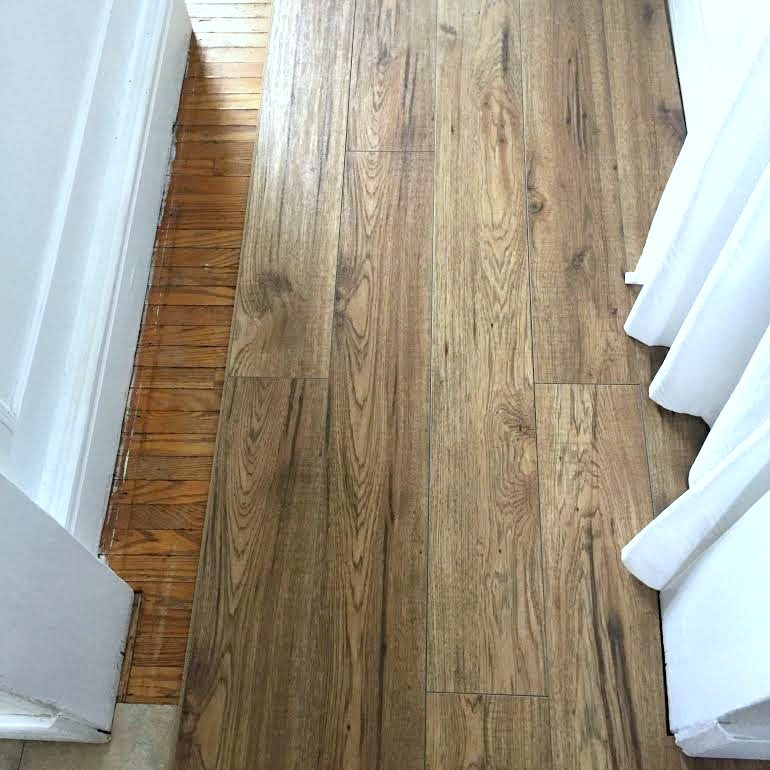
This is the flooring going down in the front hall.

I had peeled back all of the vinyl tiles in the hall a few years ago and had painstakingly removed all of the adhesive stuck to the wood in the hopes of one day restoring these original wood floors. Technically we still could because the laminate is just floating on top, but honestly right now we’re just not up for all that mess or the possibility of finding out that the flooring is really just too thin or in too bad of shape to be saved. Another win for laminate flooring!
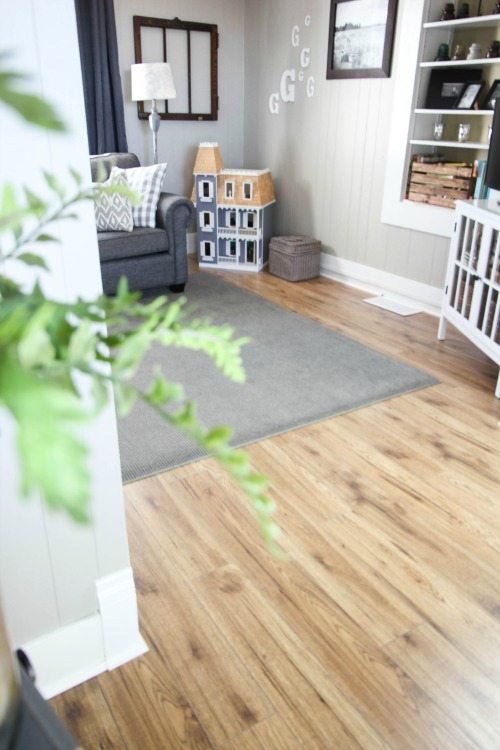
I’m pretty excited about the instant gratification of this project. The laminate just cleans everything up so quickly.
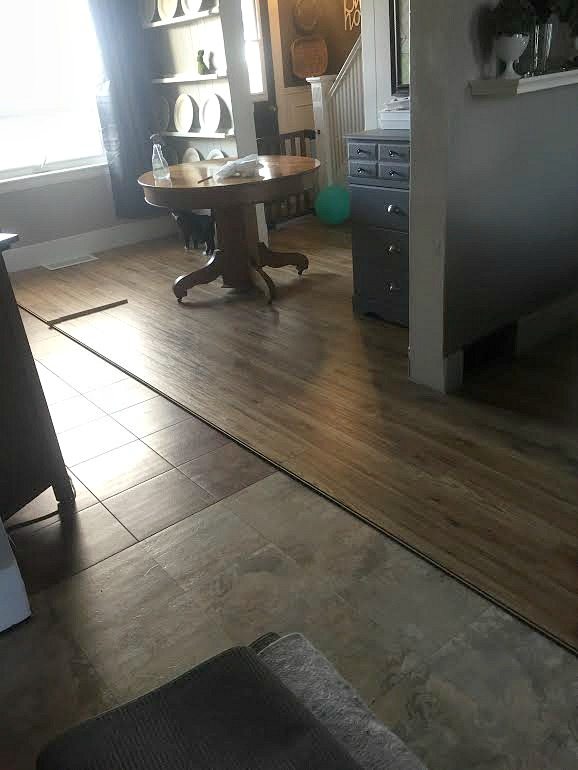
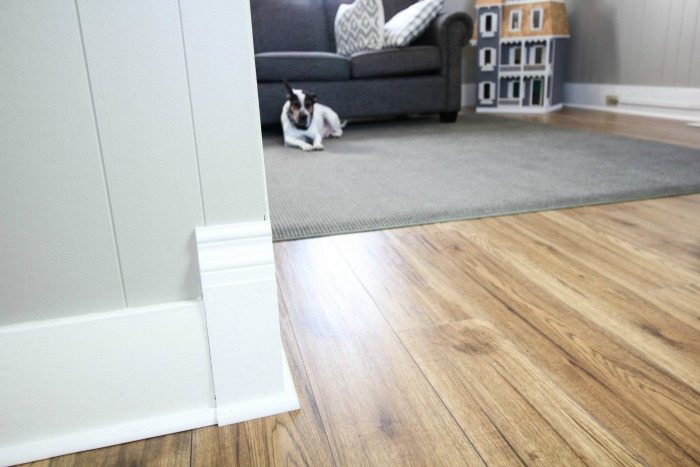
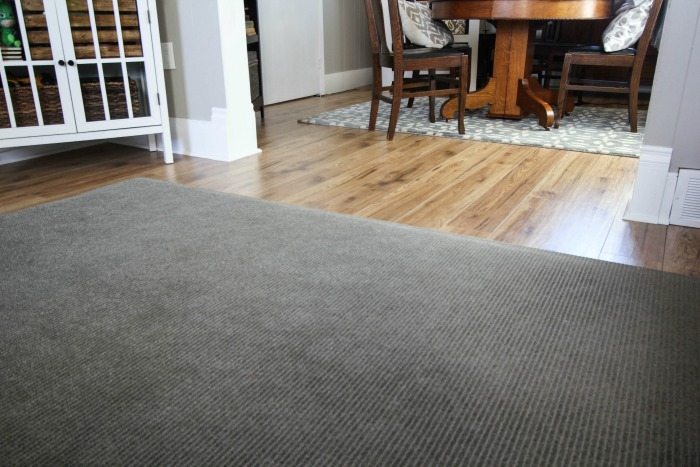
We had those two different types of flooring in the living room and dining room and you can see it’s so much nicer now to have the flooring running continuously throughout both rooms.
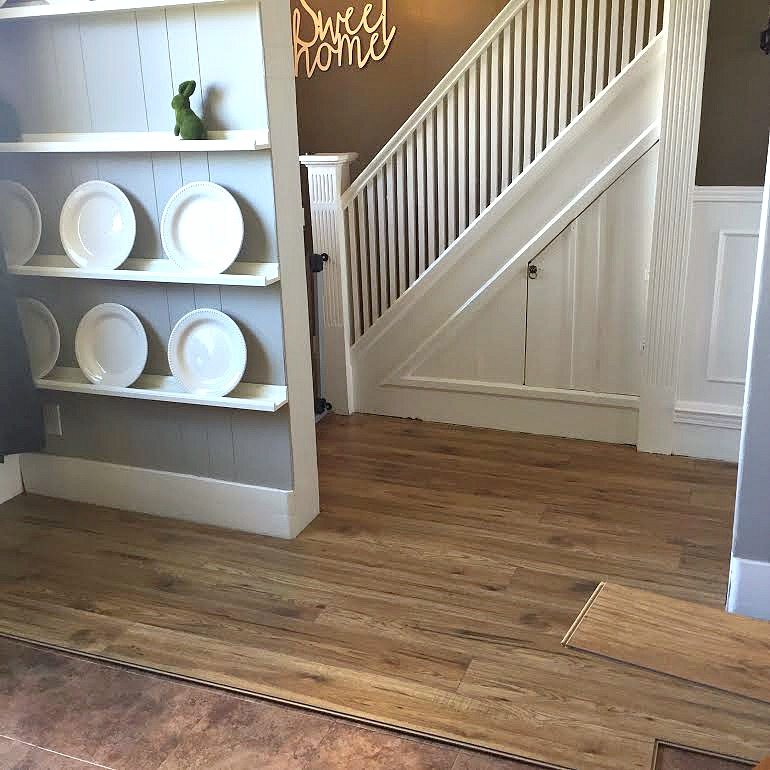
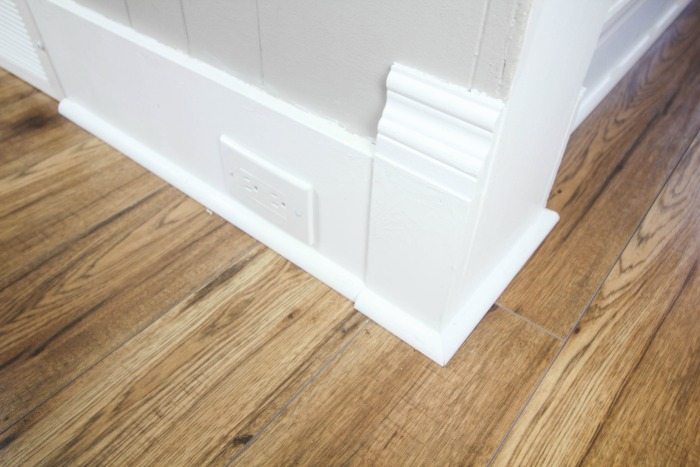
After all the flooring was down, we finished the project off with a bit of trim work. It’s pretty normal to lock flooring in place and give it a finished look with quarter round but these rooms literally had none before and that made everything seem really icky and unfinished.
So adding in the new flooring and then the proper trim on top of that was like a double-dose upgrade for these rooms!
It was like a big sigh of relief for me, honestly. I feel like we’re home now and we can really get comfortable now!
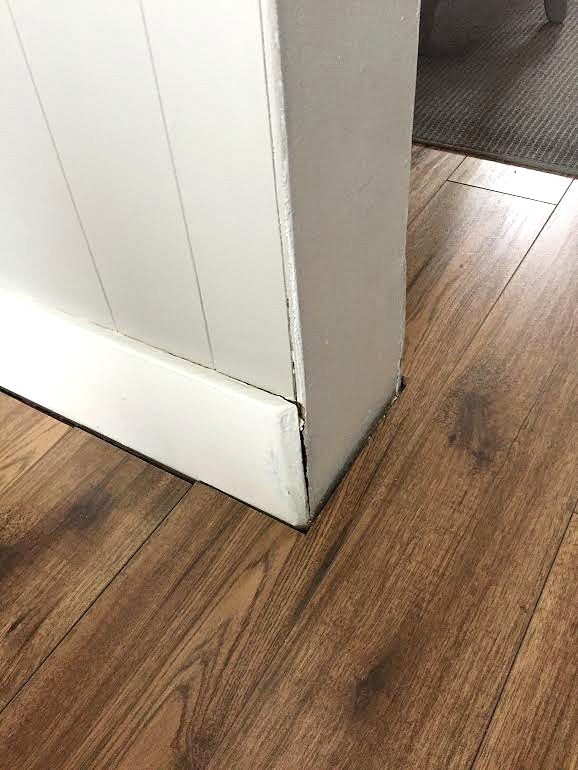
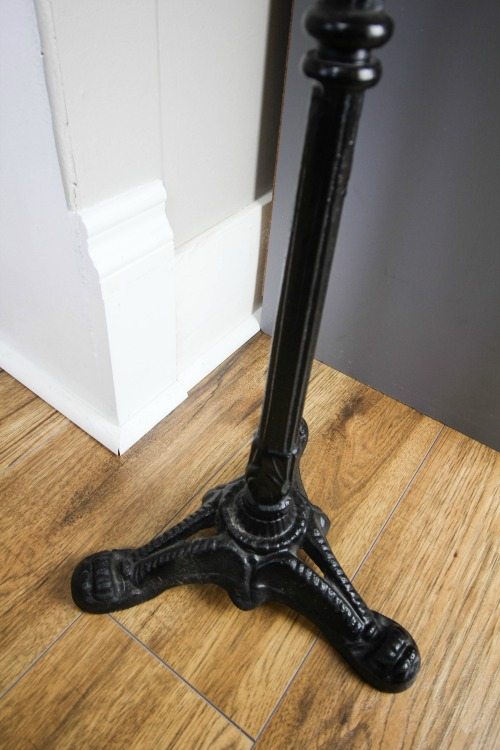
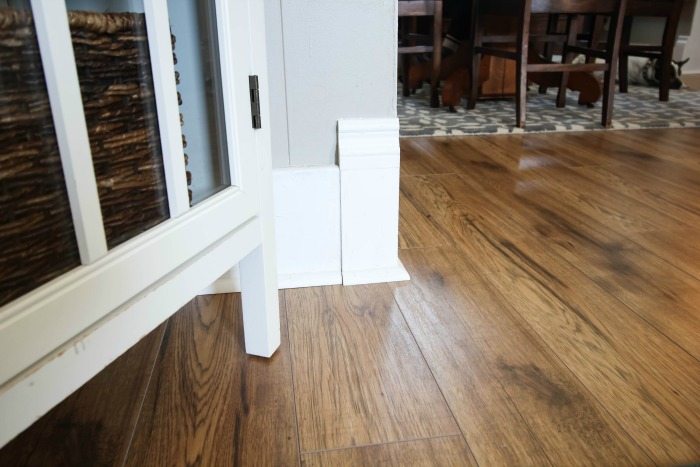
We have these great arches in here as well, which are really nice but they were looking kind of unfinished at the bottom. They needed a little something extra to make them seem “right”. Here’s how the bottom corners of the arches used to look.
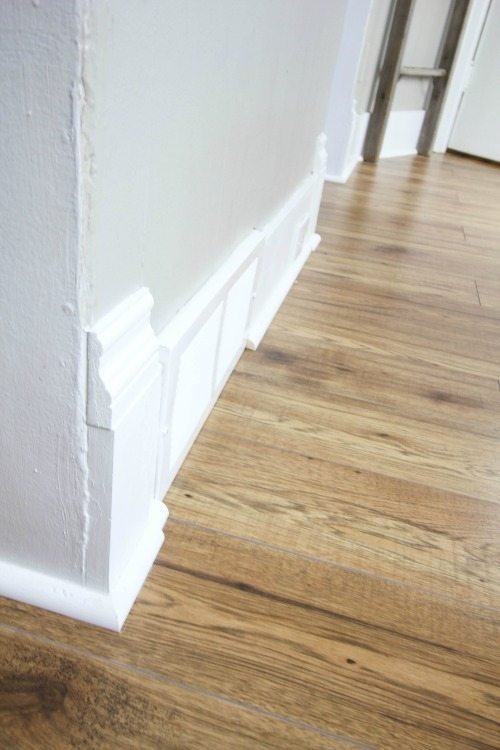
We just added these little stacked pieces of trim to give the bottoms of the arches a little more visual “weight” and again, this made a huge difference! So simple, but so satisfying!
You can still definitely tell that it’s an old house with slightly crumbly walls here and there, but overall I think things are looking about a million percent better!
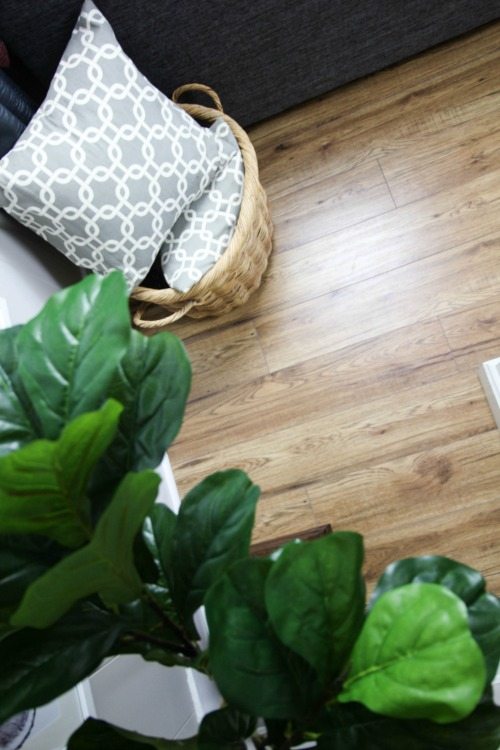
Quite a few people asked about this flooring after I last posted about it. This is Home Decorator’s Collection laminate flooring from The Home Depot and the color/style is called Truswell Hickory. I haven’t stopped being thrilled with these floors for one second since we put the first board down, so I’d definitely recommend this style!
As far as choosing laminate flooring in general, here are a few key things to think about before you make your pick and start your installation.

The Quality of the Boards
You want to find flooring that’s at least 3/8″-1/2″ thick, just like engineered hardwood would be. The laminate flooring boards should also feel a bit heavy for their size when you pick them up individually. Make sure that the boards have a foam backing on them so you won’t have to lay anything down first before you put your boards down.
Locking
This is a floating floor system and the boards don’t get nailed down the way hardwood does, so it’s very important that the boards lock together really well. This is especially important if you have floors that might be a little bit uneven like ours are. Definitely test how well two boards lock together in the store before you purchase anything.
A Finish That Won’t Make You Crazy
If you pick the right flooring, it will seem to almost need no cleaning and will look good all the time no matter what. If you choose a color on the darker side, you’ll be signing up for a lot more cleaning time because every little speck of dust will show up, but it you choose a color that’s too light, then you’ll be able to see scuff marks, dirt, and every tiny little spill. A medium color is definitely where it’s at as far as I’m concerned! Thank goodness we’re moving more towards medium wood tones as the “trendy” flooring choice instead of the super dark flooring colors from a few years ago!
A more matte finish on your floor boards will also be your best friend. A shiny finish will only look good immediately after it’s been cleaned and will almost always look smudged and dirty. We have a matte-ish finish on our floors and they don’t show anything, no matter how many animals decide to shed on them, or how many kids drop crumbs on their way to the couch!
So that’s our flooring so far! Do you have any laminate flooring tips that I missed?
MORE IDEAS LIKE THIS
- Why We Chose Laminate Instead of Hardwood
- Everything You Need To Know Before You Install Wood Countertops
- Grey and White Master Bathroom: Before and After
- Our Kitchen: Before and After
- The Creek Line House Renovating and DIY Project Archives

Courtenay Hartford is the author of creeklinehouse.com, a blog based on her adventures renovating a 120-year-old farmhouse in rural Ontario, Canada. On her blog, Courtenay shares interior design tips based on her own farmhouse and her work as founder and stylist of the interior photography firm Art & Spaces. She also writes about her farmhouse garden, plant-based recipes, family travel, and homekeeping best practices. Courtenay is the author of the book The Cleaning Ninja and has been featured in numerous magazines including Country Sampler Farmhouse Style, Better Homes and Gardens, Parents Magazine, Real Simple, and Our Homes.