To keep your clothes dryer running safely and efficiently you need more than just a quick cleaning of the lint trap. Here’s why and how to clean it better.
OK, now this may seem like an oddly small and specific part of an appliance to talk about cleaning, but believe me, it’s important! You need to know how to clean your dryer’s lint trap and also, you know, actually do it both so your dryer continues to do its very best work for you, and also to decrease the risk of fire and keep your family safe.You should be deep-cleaning your lint trap about once a month or so in an ideal world.
If you’re only used to removing the excess lint by hand after each load, this might seem like a little bit of an overkill, but if you take a closer look, you may find that your lint trap is actually completely clogged up with residue from dryer sheets and detergents and this can actually fill in the little holes in the screen. This can reduce air circulation and trap excess heat and eventually lead to a fire. It happens more often than you’d think, so it’s better to take 5 minutes or so and be safe, rather than sorry! You’ll also of course, allow your dryer to work properly without putting too much strain on it and it will last longer, saving you money! Yay!
How to Properly Clean Your Lint Trap
So here’s what you need to do:
Start out by locating your dryer’s lint trap.
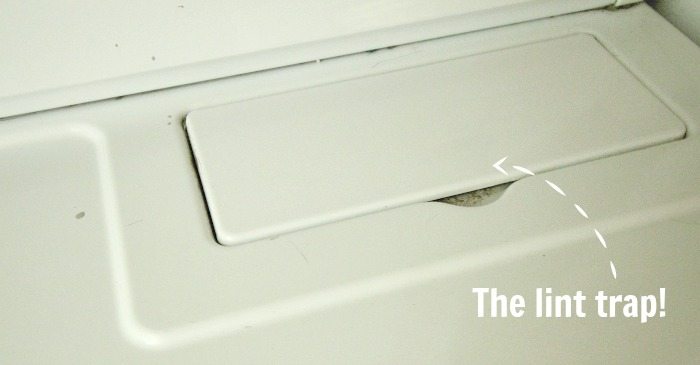
Yay! Success! You’re off to such a great start!
Next, go ahead and open it up.
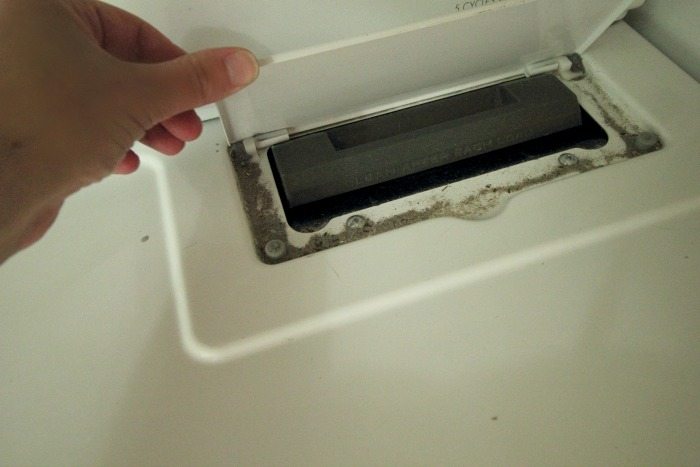
Mine looks pretty much as bad as it can get thanks to our pets and all of our trips to the beach lately, so consider yourself to be doing pretty well if yours looks better than this! 🙂
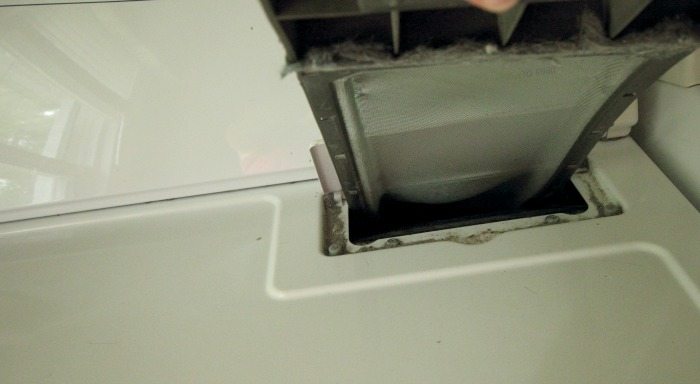
Remove it From Your Machine
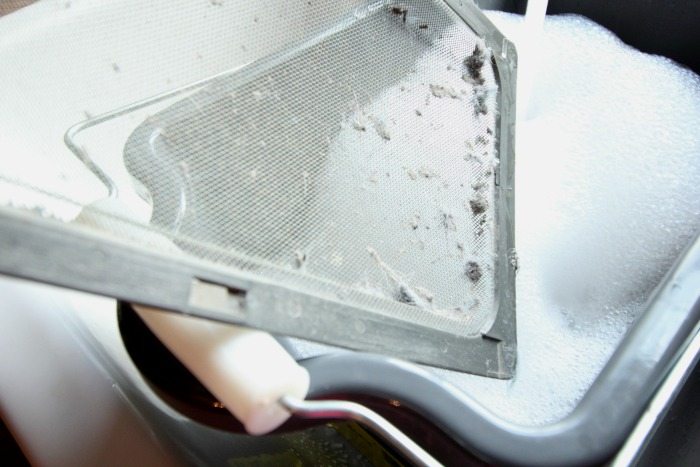
Remove the lint screen just like you normally would if you were just removing the excess lint between loads of laundry.
You can see, my lint screen was looking pretty scary too.
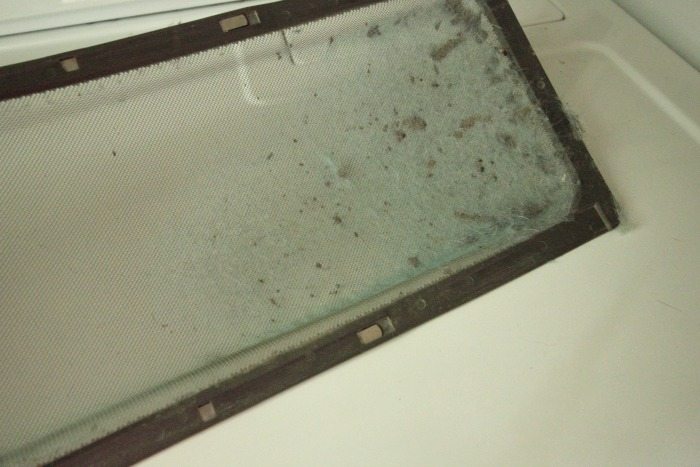
To be fair, all those crusty dark spots aren’t just dryer sheet residue build up and dirt. I think Kennedy got some kind of tar-like substance on her soccer uniform a few weeks ago and I had to use some pretty fancy stuff to get it off. I think this must have been from that sticky stuff, because the uniform went through the wash once or twice before I caught the tar-ish stuff on the navy blue fabric. But still, these things happen and they do clog up the lint screen, so you’ve got to get rid of them!
Start With the Usual Quick Clean
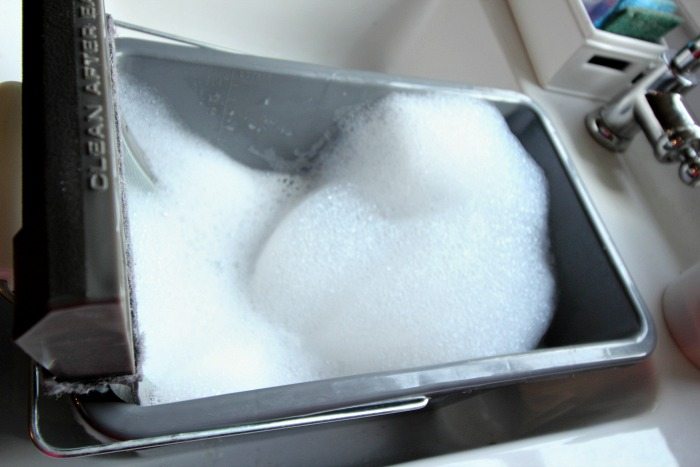
Remove all of the excess lint from the surface of the screen with your hand like you normally would after each load of laundry and then fill a bucket up with warm soapy water. Add in about 1/2 cup of vinegar into the soapy water and then swirl it around. Place your lint trap/screen thing into the bucket of water, being careful not to bend the screen too much or damage it.
You want to make sure that the whole screen is submerged if possible. For my type of lint screen, I find it really useful to use a rectangular bucket. Actually, I find these rectangular buckets to be pretty useful for most things, plus they store easily on a shelf or in cupboard! It’s these little details that make a difference, isn’t it? 🙂
Let it Soak
Anyway, let your lint screen sit in the warm, soapy, vinegary water for about 30 minutes.
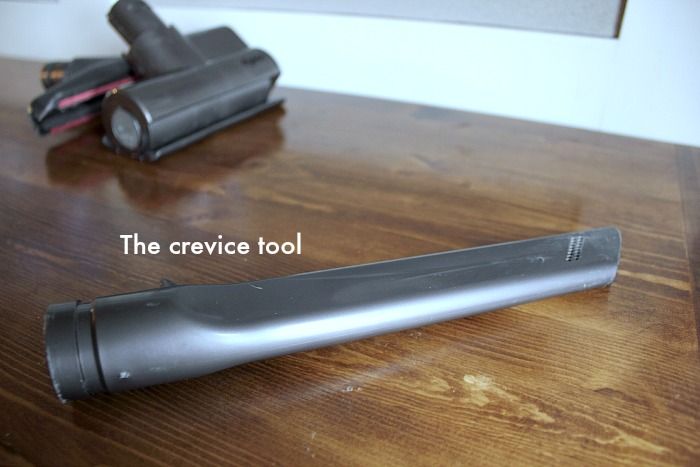
Clean The Clothes Dryer Too
This is a great time to get out your vacuum and clean in and around that opening where the lint screen sits. The crevice tool works well for getting into tight spaces like this. (I’m so glad I took all of these pictures of all the individual attachments in that post I did about vacuum attachments! So handy to be able to have those photos to show you whenever I feel like it! I just wanted to give myself a pat on the back for that. 🙂 )
OK. So.
Scrub it Clean
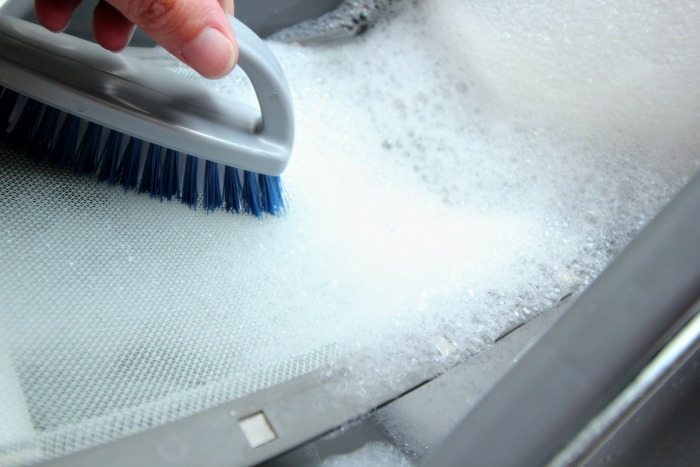
After you’re done with vacuuming and the 30 minutes is up, pull your lint screen out of the warm soapy water and get out a nice soft cleaning brush. I actually like to use a nail brush on smaller things like this because it’s just lighter to handle and it gets into little corners easily. Gently scrub until all the little bits of fuzz and dirt that were stuck on come loose. This should be pretty easy after they’ve been soaking.
Rinse
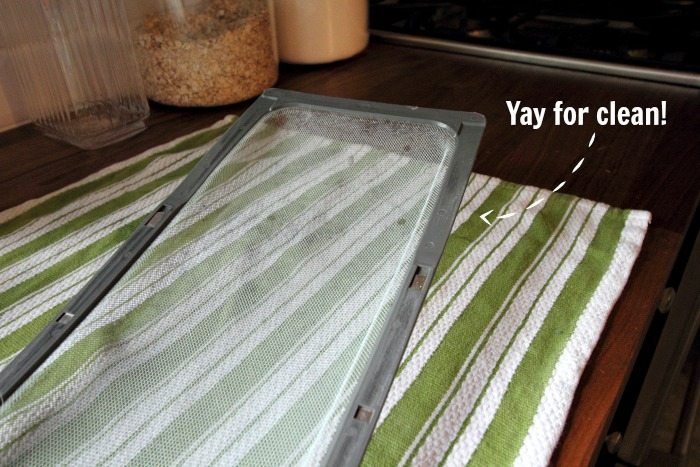
When you’re satisfied with how it looks, give the screen a really good rinse with warm water. This is a critical step because it allows you to see if you’ve successfully removed all of the buildup from the soap and the fabric softener. If the water runs straight through the screen, you’re good! If the screen holds the water and you get a little pool filling up on your screen, then you want to soak it for a bit longer and scrub some more.
Dry it Well
Make sure you let your screen air dry thoroughly before putting it back in the dryer or you may get some serious lint-clumping or screen-rusting and you’ll be right back to square one!
And that’s it! Try to do this once a month or so and you’ll be all set, at least as far as your dryer’s lint trap is concerned! 🙂
Favorite Home Cleaning Posts
- How to Really Clean Your Gas Stove
- How to Get Rid of Stubborn Carpet Stains
- Simple Things I Do Everyday to Make My Home Stay Clean
- How to Keep Your Home From Being Taken Over by Pet Fur!
- How to Clean Silver in Just Seconds
- The Painless Way to Clean Microfiber Furniture
- The Right Way to Mop Your Floors!
- How to Properly Clean Your Flower Pots
- The Creek Line House Homekeeping Tips and Tricks Archives
- The Creek Line House Cleaning Product Recommendations
This post contains affiliate links.

Courtenay Hartford is the author of creeklinehouse.com, a blog based on her adventures renovating a 120-year-old farmhouse in rural Ontario, Canada. On her blog, Courtenay shares interior design tips based on her own farmhouse and her work as founder and stylist of the interior photography firm Art & Spaces. She also writes about her farmhouse garden, plant-based recipes, family travel, and homekeeping best practices. Courtenay is the author of the book The Cleaning Ninja and has been featured in numerous magazines including Country Sampler Farmhouse Style, Better Homes and Gardens, Parents Magazine, Real Simple, and Our Homes.