I was playing around with a few different Easter decor ideas recently when I was getting set up for the Easter home tour that I’m putting together and I came up with this really simple idea that I thought was actually pretty clever too, if I do say so myself! 🙂
I ended up reusing quite a few things that I already had in the house for my Easter decorating needs this year, but I did pick up a few new things too. Once I got home, I was looking around online at a few inspiration pictures and I realized that some little nests would be so cute in a few different places. You can usually find little twig nests at craft stores, and although some of them can be a bit expensive, you can find cheaper ones too. I thought a set of eight or so would be a good investment and something I’d probably reuse in one way or another every Easter. BUT, I really didn’t want to waste any time running all the way back into town just for some nests. I actually don’t really shop all that often, so when I do, it’s kind of a big deal and not something I make time for everyday. So, I kind of resigned myself to the fact that the nests would have to happen next year, and I’d have to come up with something cute with what I had on hand. And then I had a nest-piphany!
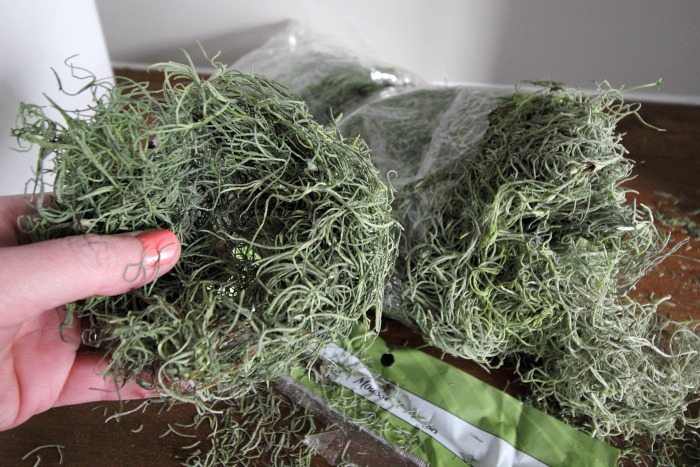
I took one of the packages of moss that I had bought to use as filler here and there and started to kind of mold it into a nest shape. And it worked! Gloriously! I think these were so successful because of the type of moss that I happened to pick up. It’s kind of got these long, twisty strands that lock together nicely the more you coax them into shape. And it also happened to be the cheapest kind of moss at the craft store! Here’s the label.
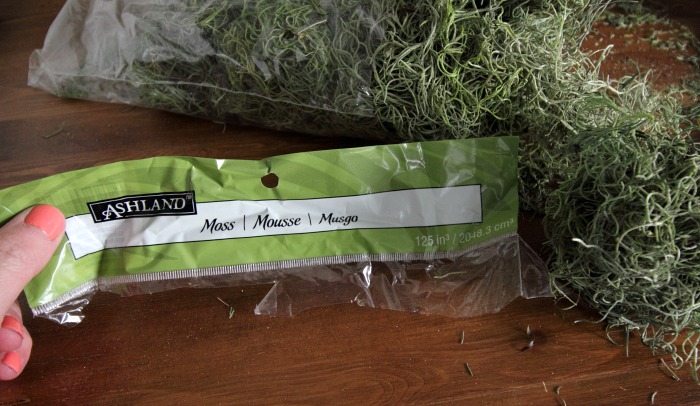
No fancy specialty mosses for me! Just moss. Plain and simple. I think it was around $6 Canadian for the big bag, which, with the exchange rate, probably works out to roughly free in US dollars.
To make a nest, all you need to do is cut off a small blob of moss. About a handful should do the trick for most of your Easter nest needs.
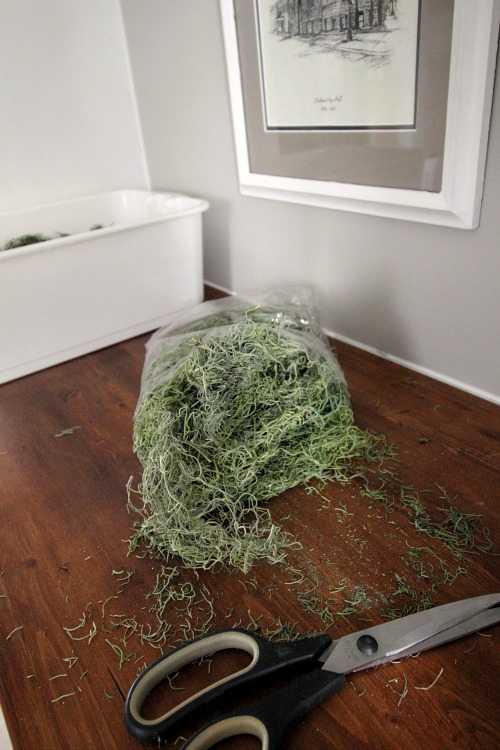
It definitely can get a little messy, so work somewhere that you can sweep up easily.
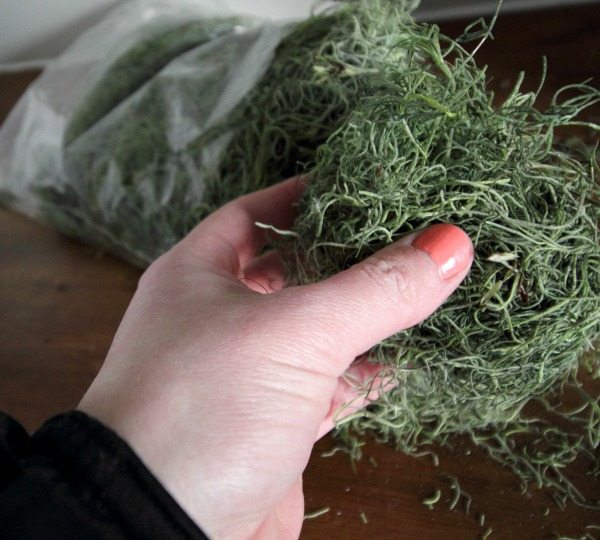
Hold your moss blob with your thumb in the middle and press down to start the indentation for the middle of the nest.
Keep shaping the moss into a nest shape, almost as if you were working with clay. The little mossy fibers really grip onto each other with this stringy kind of moss and they really hold a shape nicely.
When you’re done, make some more! It only took me about 5 minutes to make enough for my whole table.

I only made 8, but I think I could probably get at least 12 nests out of a bag of moss, which makes this much cheaper than buying individual nests.
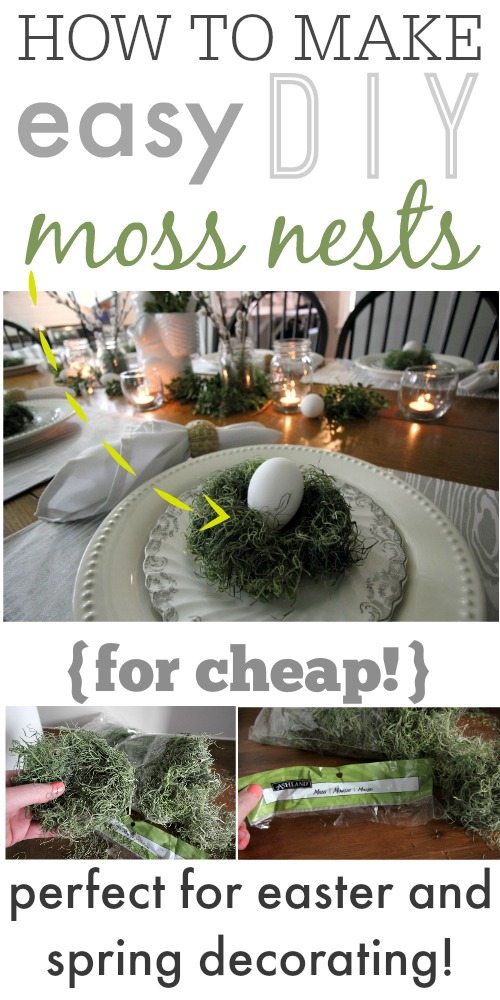
Plus, they’re super cute and exactly the kind of happy springy look that I was going for!
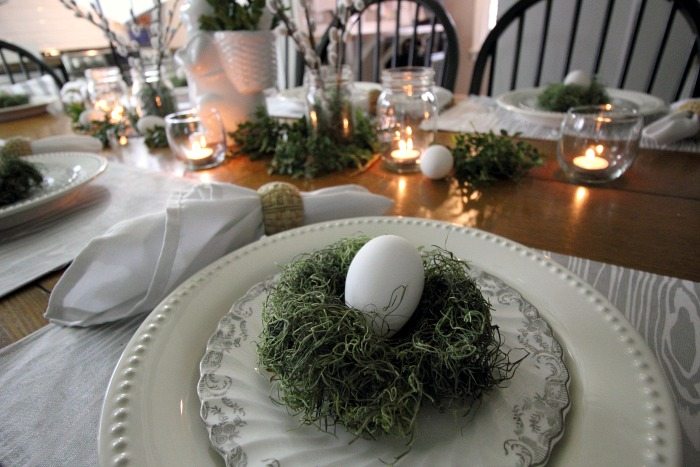
Here’s a little peek at how they look on my table. I’ll be sharing my whole Easter home tour soon so keep an eye out for that if you’re starting to crave spring like I am! 🙂
For more easy-peasy Easter projects, make sure you check out my Easter archives page!

Courtenay Hartford is the author of creeklinehouse.com, a blog based on her adventures renovating a 120-year-old farmhouse in rural Ontario, Canada. On her blog, Courtenay shares interior design tips based on her own farmhouse and her work as founder and stylist of the interior photography firm Art & Spaces. She also writes about her farmhouse garden, plant-based recipes, family travel, and homekeeping best practices. Courtenay is the author of the book The Cleaning Ninja and has been featured in numerous magazines including Country Sampler Farmhouse Style, Better Homes and Gardens, Parents Magazine, Real Simple, and Our Homes.