So, you see, we have this door in our dining room. It’s really big and plain and ugly and it leads to the master bedroom. There are a ton of really great DIY solutions that I could do to dress this door up, but we’re planning on changing it out eventually and actually moving it so that the doorway goes into the bedroom a couple of feet and leaves a little alcove there in the dining room. The bedroom is big and the dining room is small, so it makes sense. Anyway, I may still fancy the door up one day if inspiration strikes but for now, I just decided to stick a wreath on it to fill some of that blank space and call it done. So that’s the story of where the need for this bow came from.
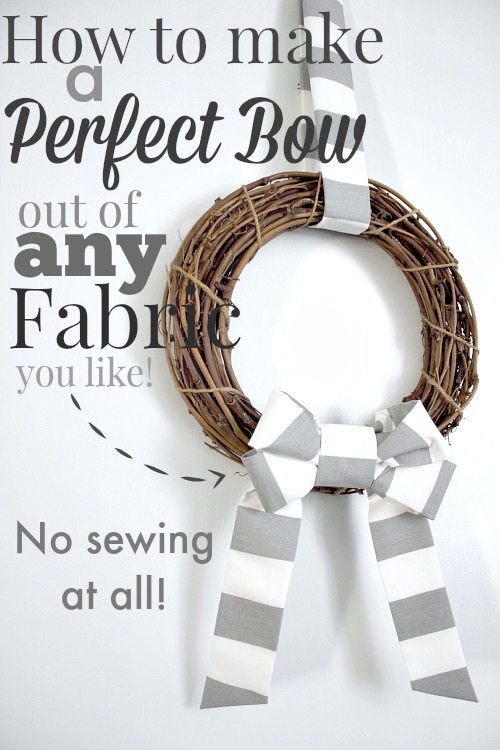
I thought it would be neat if I could try to figure out a way to make a nice bow out of some of the really cute fabrics that I have in my stash and I’m pretty excited with what I came up with!
Here’s how you can make one too!
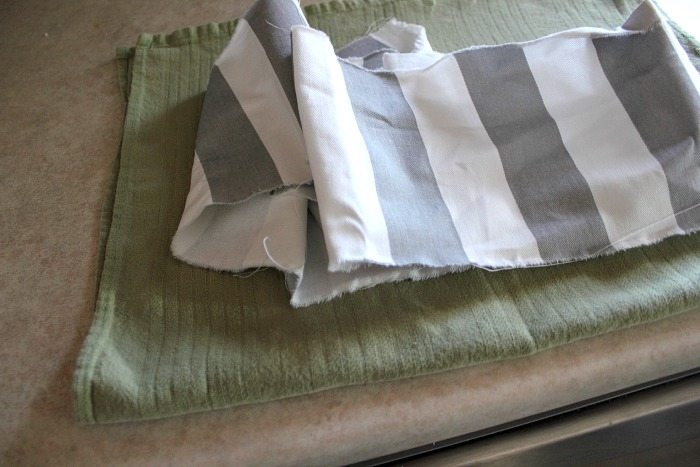
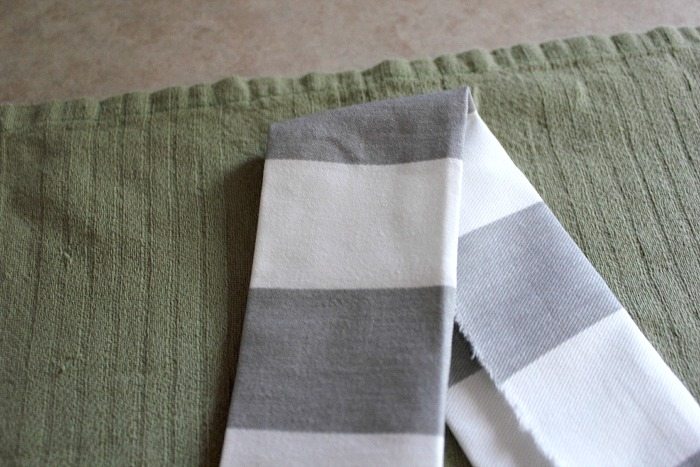
Start with a long strip of fabric. Mine was about 1.5 yards long and about 7 inches wide. There was nothing exact about my process. I just eyeballed it and ripped, so just go ahead and use whatever amount of fabric looks good to you!
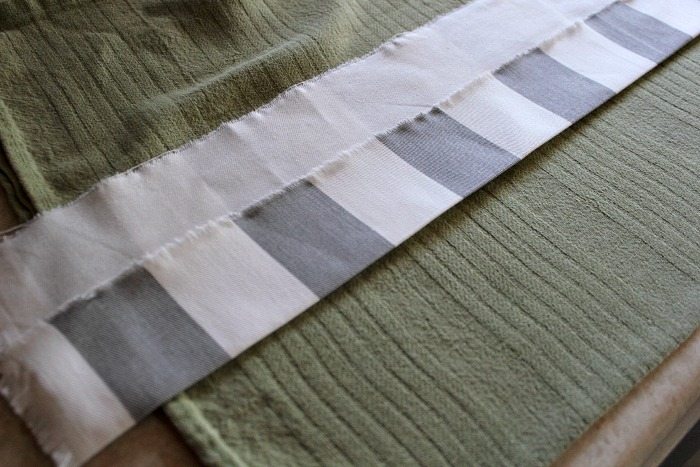
Next, you’ll need to grab your iron and iron out your fabric. When it’s nice and crisp, fold one side in and iron it flat like this:
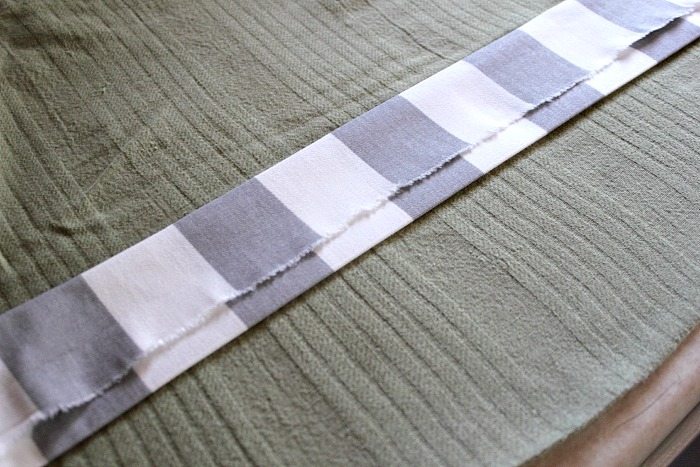
Fold the other side in and iron it too! Make sure that your frayed edge ends up landing somewhere in the middle-ish of your strip so that the frayed edge doesn’t stick out when your bow is all done. You could start with a wider strip and fold it in again so everything’s totally hidden, but that’s not really necessary because nothing will be showing once the bow is complete.
Locate the middle of your strip and fold it in half there!
Make two loops!
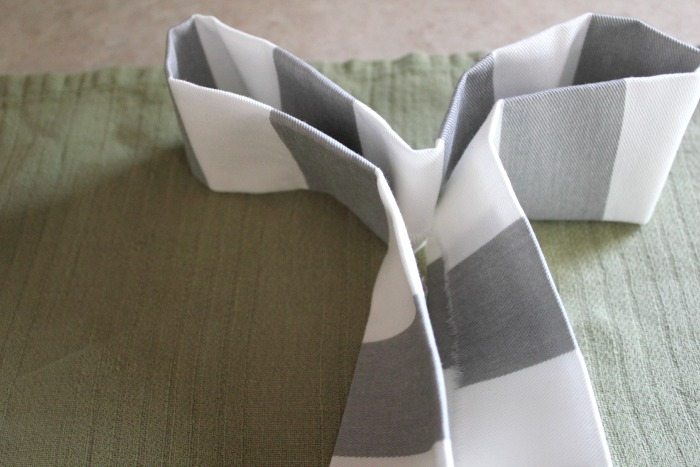
Make two more loops!
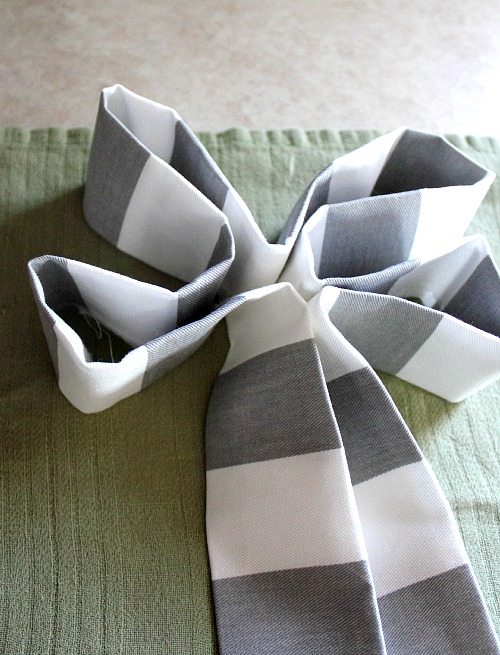
Cross one tail over the other!

Now you’ll need to make yourself a second mini strip of fabric. This one should start off about 8 inches long and again 6 or 7 inches wide. Fold your sides in and iron them just like you did with the first longer strip. This will be the piece that holds everything together!
Now pinch your bow!
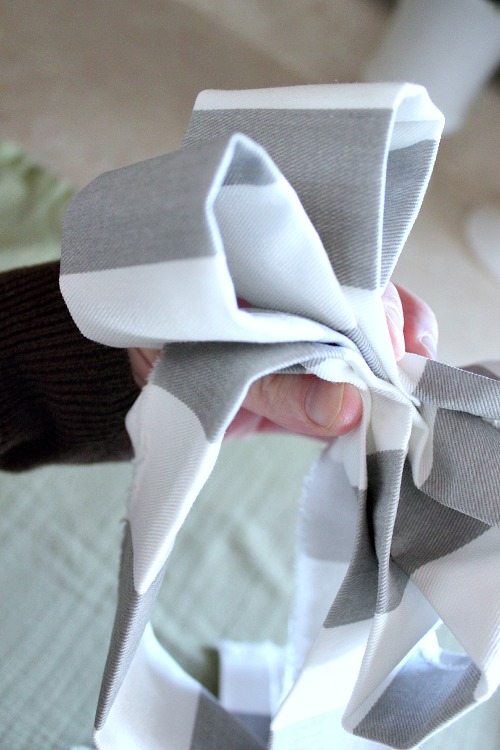
Wrap your mini strip around the front of your bow and secure it in the back with a few dabs of hot glue.
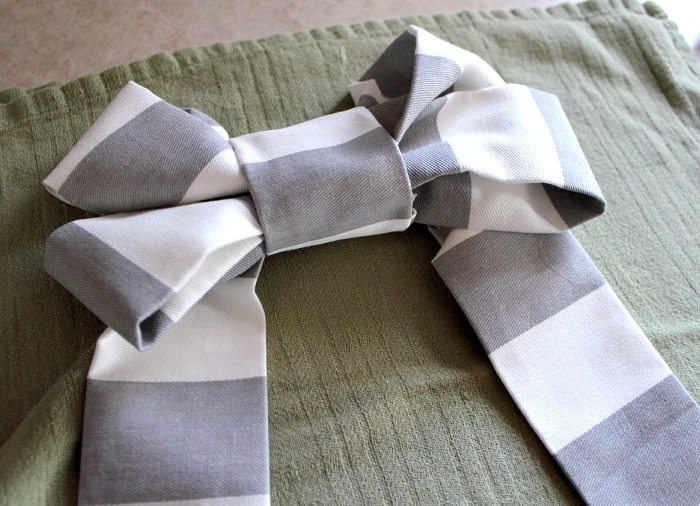
Fluff it up a bit so it looks all perky and cheerful. This is really easy because all those folded layers of fabric really give this bow a nice weight.
Now trim the ends of your tails so they look pretty.
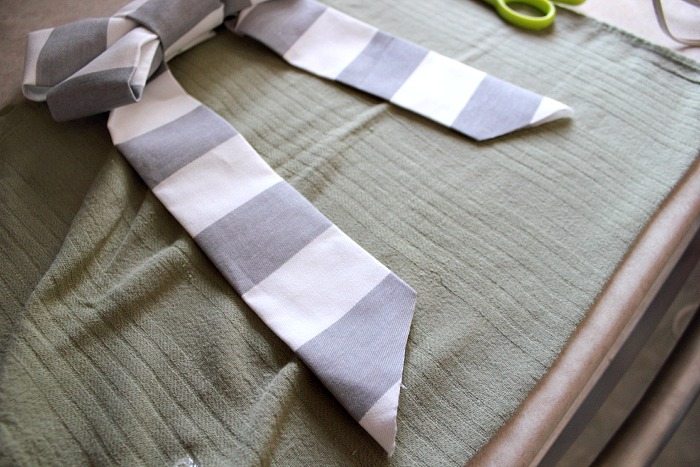
You could probably leave your ends like this and it would be fine, but I folded mine over about a 1/2 inch and secured them with more hot glue.
Done!

I really love the look of this bow! I could see this little trick coming in handy for all kinds of things like gift wrapping, party decorations, or Easter baskets!
Hope you liked this one! For more on my dining room, check out the dining room archives. The full room reveal is getting closer to being ready!

Courtenay Hartford is the author of creeklinehouse.com, a blog based on her adventures renovating a 120-year-old farmhouse in rural Ontario, Canada. On her blog, Courtenay shares interior design tips based on her own farmhouse and her work as founder and stylist of the interior photography firm Art & Spaces. She also writes about her farmhouse garden, plant-based recipes, family travel, and homekeeping best practices. Courtenay is the author of the book The Cleaning Ninja and has been featured in numerous magazines including Country Sampler Farmhouse Style, Better Homes and Gardens, Parents Magazine, Real Simple, and Our Homes.