
If you were here yesterday, then you know that today I have a little tutorial for a super-easy short cut for getting an image transferred onto fabric. This is for those of us without fancy cutting machines or special materials around, unless you count wax paper as a special material, which sometimes I do!
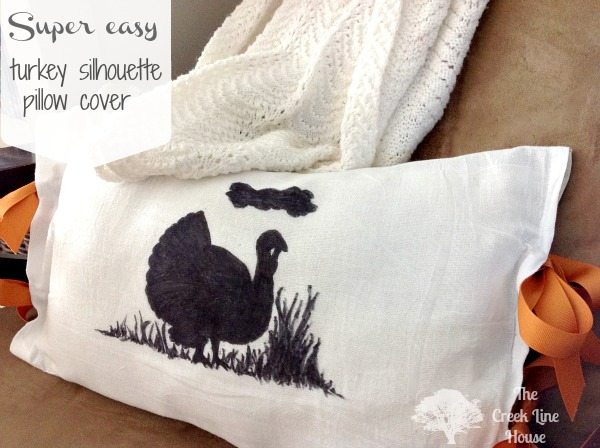
Here’s the pillow, which I showed you yesterday, with the turkey silhouette we’re going to be working with today.
Before we get into it, let me tell you,we are going to get real close today, me and you. I don’t go around taking just anyone into this area where I do my blogging and my real work. This is special, just for you. Sometimes you see pictures around this blog that make it look like we’ve got a pretty cozy little house around here and today you’re going to see that we have all kinds of ugly around here too.
I wanted to show you how it’s really done and how really unfancy a process this is, so today, we’re keepin’ it real!
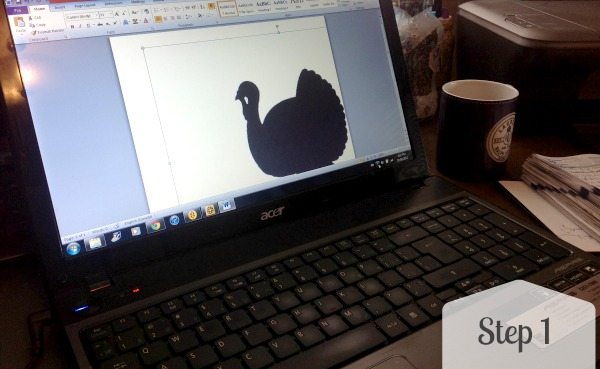
Find a free clip art image online and copy/paste it into Word. I just find it faster and easier than using anything else. So this is what I do!
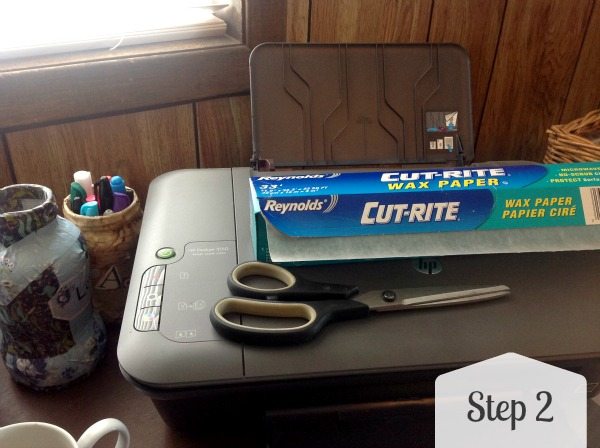
Gather your supplies: Wax Paper and scissors. Cut the wax paper to about the width of a regular sheet of paper.
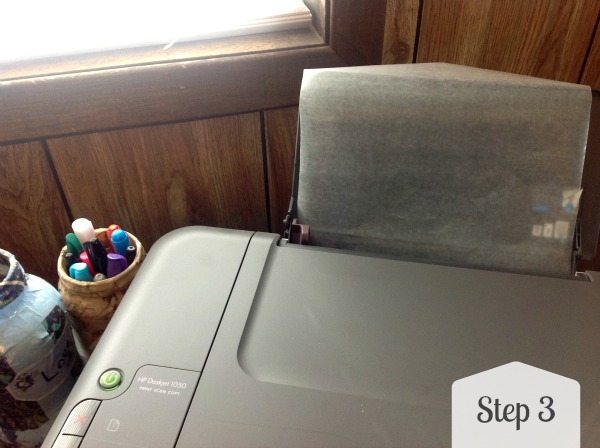
Load the wax paper into the printer and hit print! It helps if you put the concave curving side down, I find.
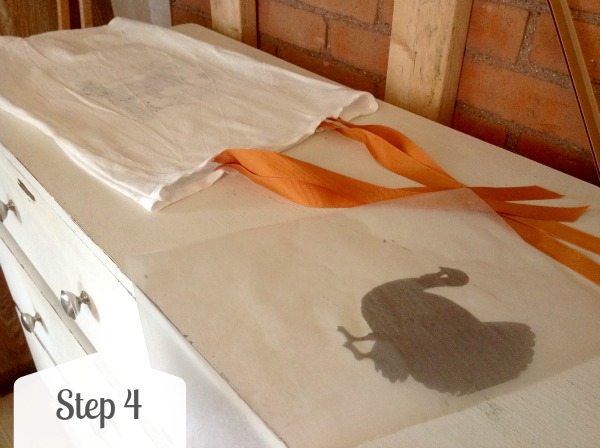
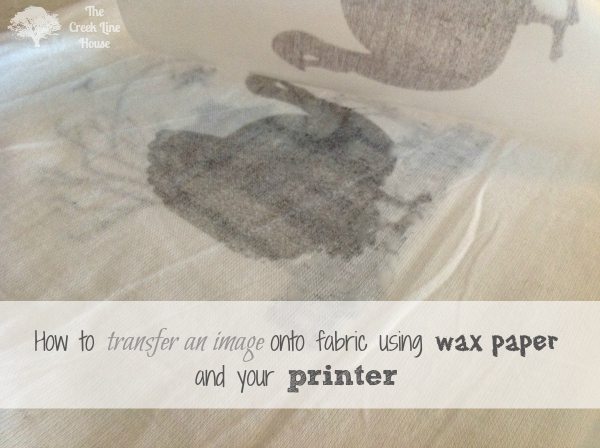
Now you have your image on the wax paper. Careful, the ink is still wet! No touchy! Find a flat surface like a dresser next to a half-demolished wall to work on.
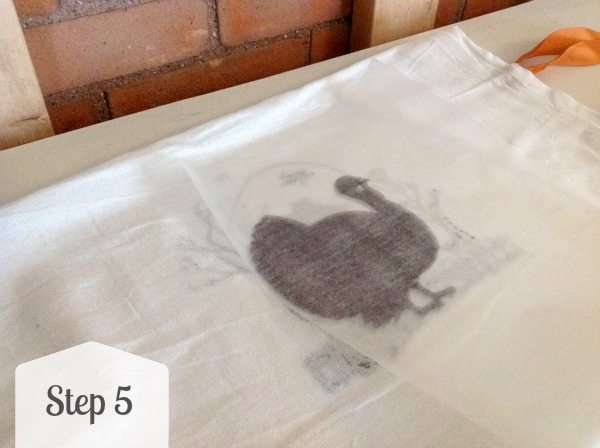
Since the ink is still wet and doesn’t absorb into the wax paper like it does in regular paper, you’re going to use this like a stamp. Find the spot where you’d like to place your image. You can measure, or you can do like I did and just eyeball it based on where my image was on the other side. Smooth and press with your hand.
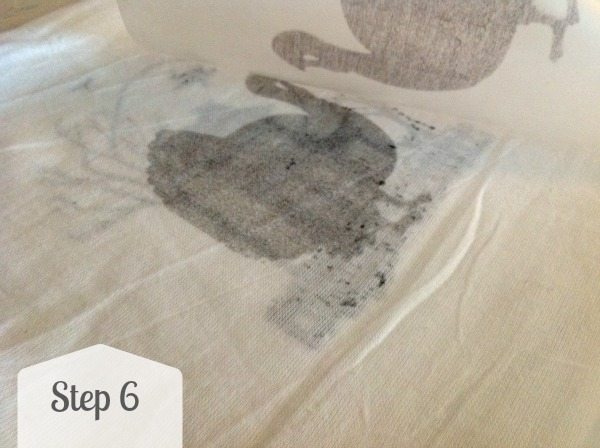
Peel ‘er back!
The pillow cover that I’m working with here is actually the back side of another Halloween themed pillow cover I did about a month ago. So I made it reversible!
You can see there are some areas where it bled through from the other side when I was doing the first image. Lesson learned. If you look at the finished product, you can see I came up with a clever solution for this.
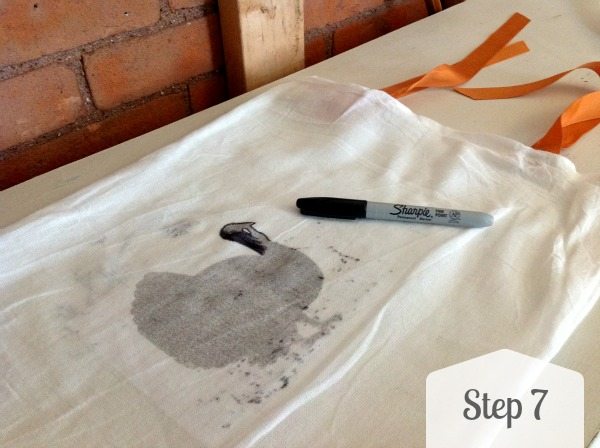
Your image will now appear to be a light grey. You can leave it like this, which looks perfectly nice, or if you want it a little darker, just color it in with a Sharpie! Don’t forget to place a sheet of paper underneath so the ink doesn’t bleed through! Just look at that mess I made the first time when I didn’t have the sheet of paper!
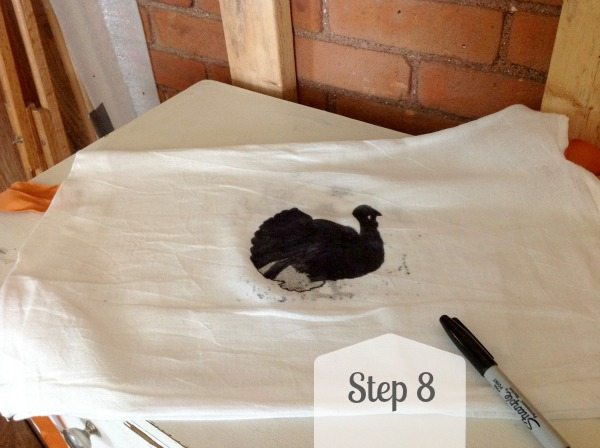
Color, color, color.
Hmm, now what to do about all those little ink marks? Oh! I know!

Now it’s a turkey in the grass! With a cloud over his head! It’s an angry turkey in the grass!
The classic Thanksgiving imagery of the brave turkey, angry because of the impending turkey injustice about to take place!
No?
Well, if it’s not a new classic, and it’s not really a political poultry statement, then at least it’s cute!
This post contains affiliate links

Courtenay Hartford is the author of creeklinehouse.com, a blog based on her adventures renovating a 120-year-old farmhouse in rural Ontario, Canada. On her blog, Courtenay shares interior design tips based on her own farmhouse and her work as founder and stylist of the interior photography firm Art & Spaces. She also writes about her farmhouse garden, plant-based recipes, family travel, and homekeeping best practices. Courtenay is the author of the book The Cleaning Ninja and has been featured in numerous magazines including Country Sampler Farmhouse Style, Better Homes and Gardens, Parents Magazine, Real Simple, and Our Homes.